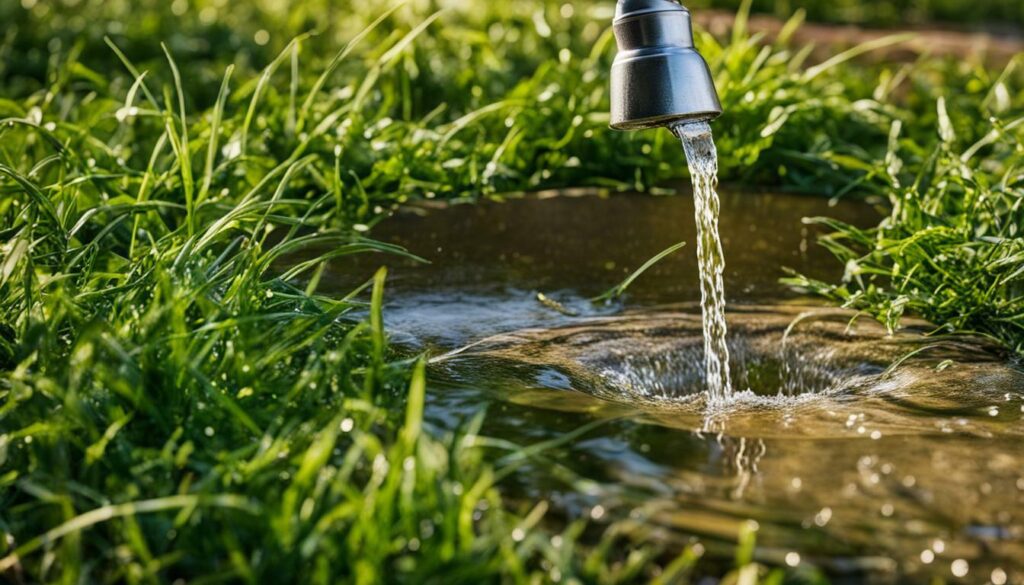
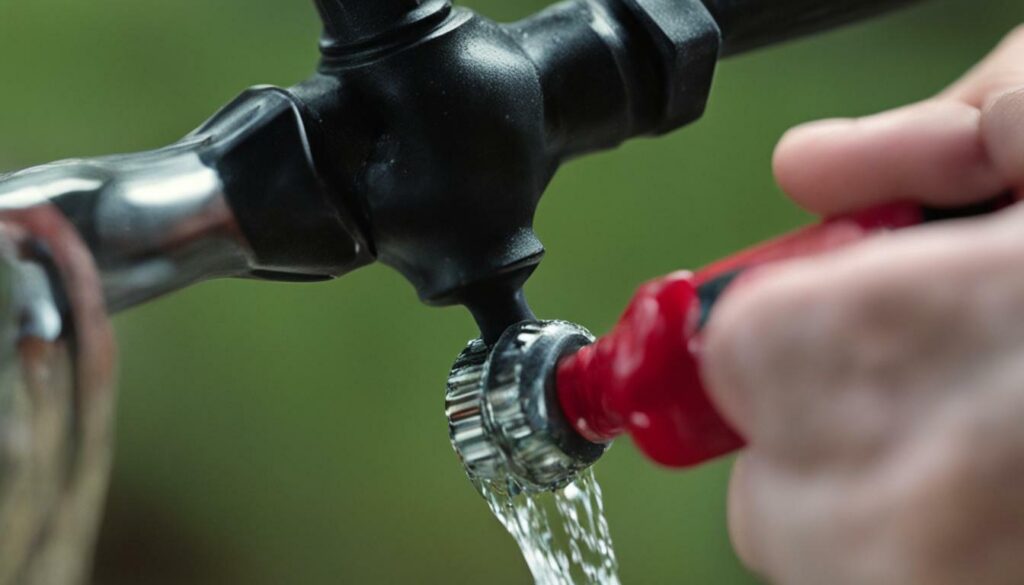
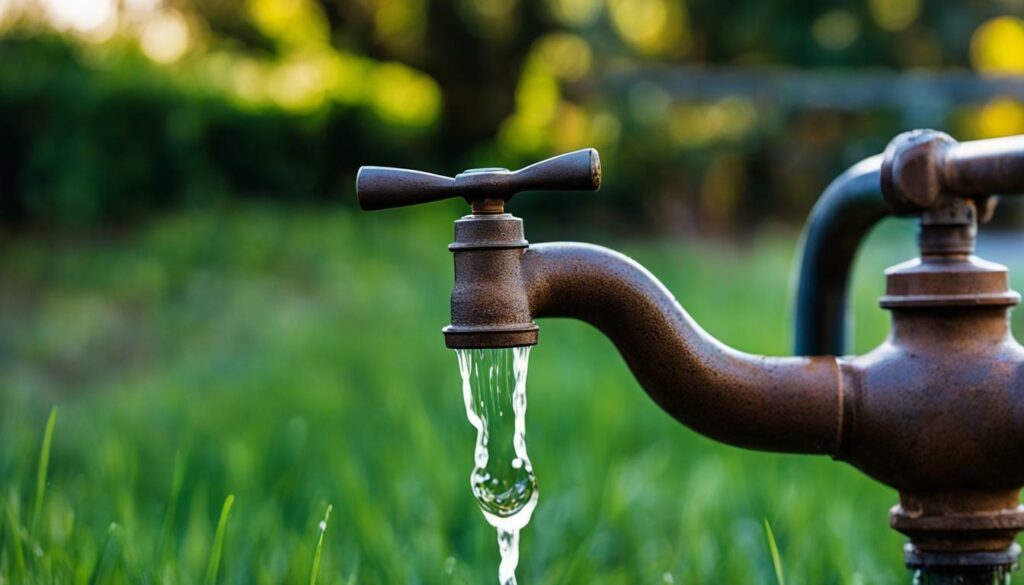
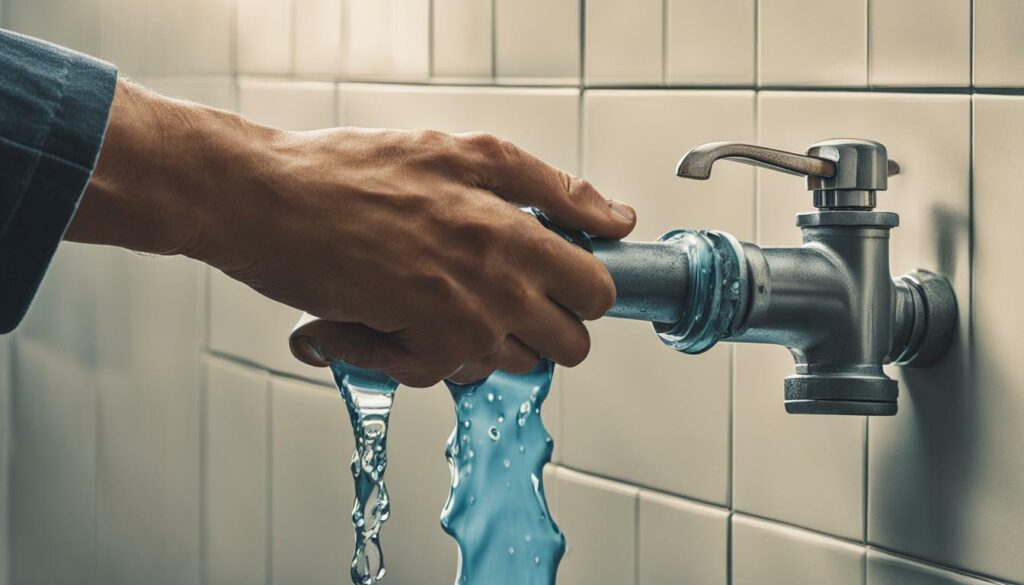
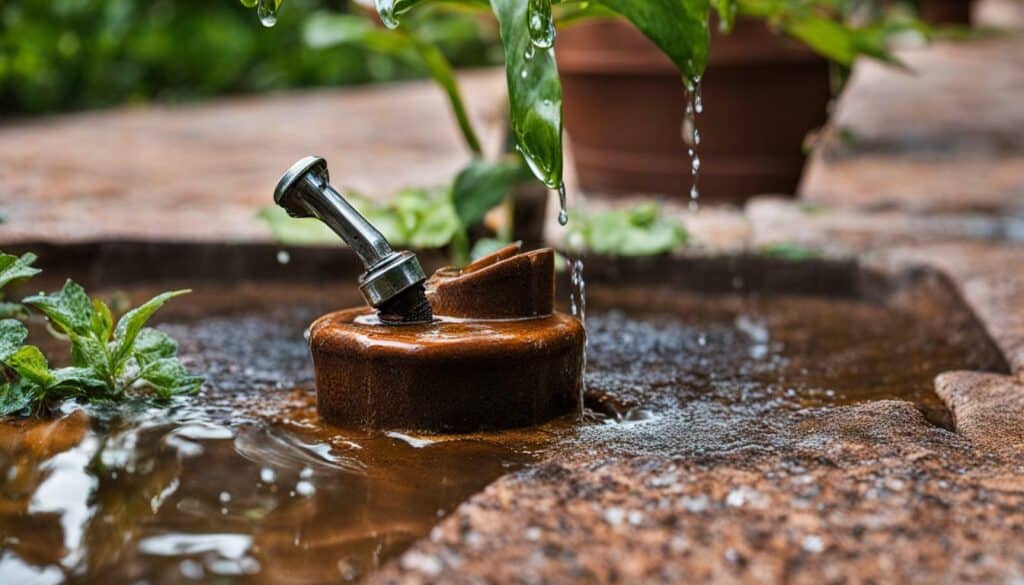
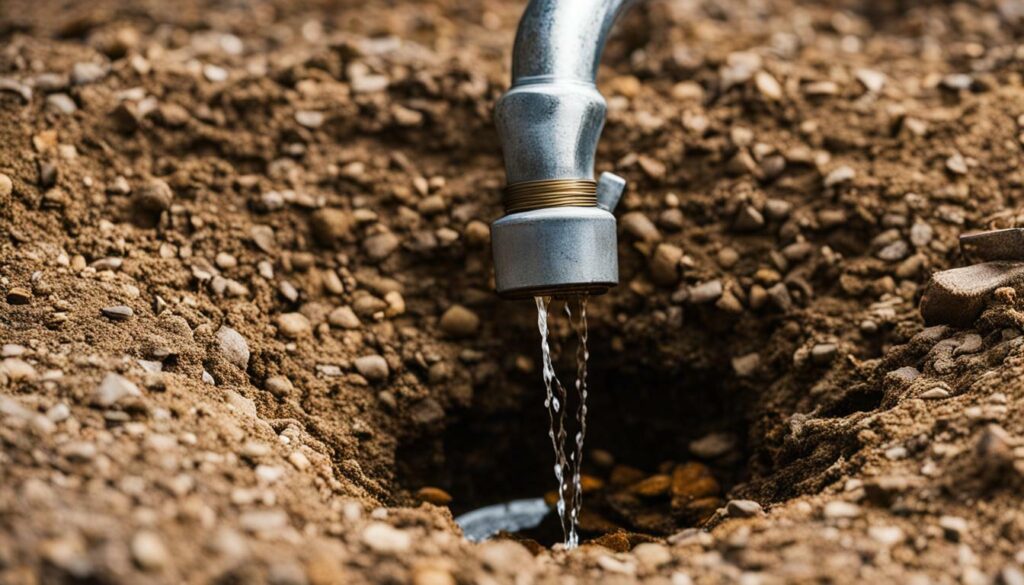
Are you dealing with an outdoor faucet leaking? Don’t worry, we’ve got you covered with quick and easy solutions to fix the problem.
- Tighten the handle or knob to stop dripping.
- Check if the bonnet screw or packing nut is loose and tighten it.
- Replace the washer at the end of the stem if the dripping continues.
- Change the o-rings behind the handle if there is a leak.
- Fix a leak through the anti-siphon valve by replacing the rubber washer or plunger.
How to Tighten the Faucet Handle or Knob
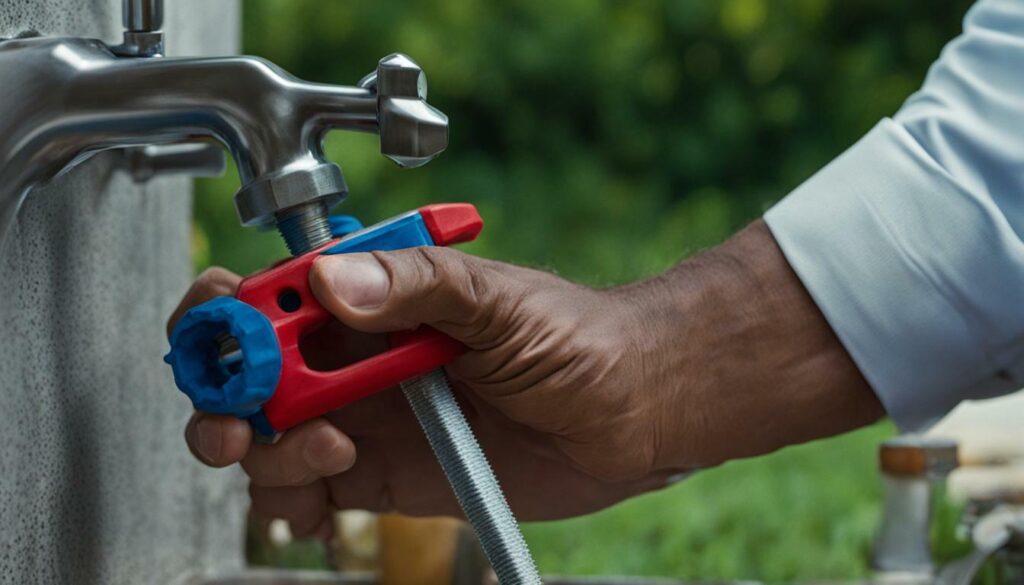
If your outdoor faucet is leaking, the first step is to try tightening the handle or knob. Sometimes, a loose handle can cause the faucet to drip. To fix this, you will need a screwdriver or wrench, depending on the type of handle.
To begin, locate the screw at the base of the handle or knob. Use the screwdriver or wrench to tighten it in a clockwise direction. Be careful not to overtighten, as it may damage the handle. Once you’ve tightened the screw, test the faucet to see if the leaking has stopped.
If tightening the handle doesn’t solve the problem, you may need to take further steps to fix the leak. Keep reading to learn other quick and easy solutions to outdoor faucet leaks.
Remember, tightening the handle is just one possible solution for a leaking outdoor faucet. If the problem persists, it’s important to explore other potential causes and remedies.
In the next section, we will discuss how to check the bonnet screw or packing nut to see if they are loose and need tightening. Stay tuned for more easy fixes to keep your outdoor faucet leak-free.
Checking the Bonnet Screw or Packing Nut
If tightening the handle or knob didn’t solve the leak, the next step is to unscrew the handle and check the bonnet screw or packing nut. Here’s what you need to do:
- First, turn off the water supply to the outdoor faucet to ensure safety.
- Use a screwdriver or a wrench to unscrew the handle and remove it.
- Once the handle is removed, locate the bonnet screw or packing nut beneath it. This is usually located at the base of the faucet spout.
- Inspect the bonnet screw or packing nut to see if it is loose. If it is, use channel locks to tighten it down securely.
Still Confused? Here’s a Quick Recap:
If your outdoor faucet is leaking and tightening the handle or knob didn’t fix it, try unscrewing the handle to check the bonnet screw or packing nut. If it’s loose, tighten it with channel locks. This should help stop the leak.
Remember to turn the water supply back on and test the faucet to see if the leak has been resolved. If the leak persists, you may need to explore other solutions, such as replacing the washer or o-rings.
If your outdoor faucet is still leaking, it’s time to turn off the main water supply and replace the washer at the end of the stem. Start by closing the water supply valve to prevent any further water flow. Using a screwdriver, remove the handle by unscrewing the retaining screw located under the decorative cap.
Once the handle is removed, you’ll see the bonnet screw or packing nut. Loosen it with channel locks or a wrench and carefully remove it. Keep in mind that the bonnet screw or packing nut may be tight, so using a little bit of force might be necessary. With the bonnet screw or packing nut removed, you’ll have access to the washer at the end of the stem.
Take out the old washer and replace it with a new one of the same size. Make sure the washer is properly positioned and fits snugly. Reassemble the faucet by reattaching the bonnet screw or packing nut and tightening it securely. Then, screw the handle back on and tighten the retaining screw beneath the decorative cap. Finally, turn the main water supply back on, and your outdoor faucet should no longer leak.
| Tools needed: | Materials needed: |
|---|---|
|
|
“Replacing the washer at the end of the stem is a common and effective solution for fixing outdoor faucet leaks. By following these steps and using the right tools, you can easily replace the washer and prevent any further water leakage.”
Changing the O-rings Behind the Handle
If you notice a leak behind the handle of your outdoor faucet, it may be necessary to replace the o-rings. The o-rings are small rubber seals that help prevent water from escaping around the handle. Over time, these o-rings can become worn or damaged, resulting in a leak.
To replace the o-rings, you will need to remove the handle and bonnet screw. Start by turning off the water supply to the faucet. Use a screwdriver or wrench to unscrew the bonnet screw located on top of the handle. Once the screw is removed, you can lift off the handle and expose the o-rings.
Inspect the old o-rings for any signs of wear or damage. If they are cracked, brittle, or flattened, they will need to be replaced. Remove the old o-rings and replace them with new ones of the same size. Make sure to lubricate the new o-rings with plumber’s grease before installing them.
Once the new o-rings are in place, reassemble the handle by sliding it back onto the stem and securing it with the bonnet screw. Tighten the screw with a screwdriver or wrench to ensure a snug fit. Turn on the water supply and test the faucet for any remaining leaks. If the leak persists, you may need to explore other solutions.

Is the leak in your outdoor faucet coming out of the top of the spigot through the anti-siphon valve? Here’s how to fix it. First, locate the anti-siphon valve on top of the spigot. It may be covered by a cap that you can pop off using a flathead screwdriver. Once the cap is removed, you will have access to the internal components.
Inspect the rubber washer or plunger inside the anti-siphon valve. If it appears worn-out or damaged, it may be the cause of the leak. You can easily replace it with a new one. Gently remove the old rubber washer or plunger and replace it with a new one of the same size. Make sure it is securely in place.
Once you have replaced the worn-out component, reassemble the anti-siphon valve by putting the cap back on and securing it tightly. Turn on the water supply and check if the leak has stopped. If the problem persists, you may need to consult a professional plumber for further assistance.
Fixing a leak through the anti-siphon valve can prevent water wastage and potential damage to your outdoor faucet. If you follow these steps carefully, you should be able to resolve the issue and enjoy a leak-free faucet once again.
| Steps to Fix a Leak Through the Anti-Siphon Valve |
|---|
| 1. Pop off the cap of the anti-siphon valve using a flathead screwdriver. |
| 2. Check the rubber washer or plunger inside the valve for wear or damage. |
| 3. Replace the worn-out component with a new rubber washer or plunger. |
| 4. Reassemble the anti-siphon valve by securely putting the cap back on. |
| 5. Turn on the water supply and check if the leak has been resolved. |
If you have followed these steps and the leak persists, it is recommended to seek professional help. Remember, fixing outdoor faucet leaks promptly can save you money on water bills and prevent further damage to your plumbing system.
Dealing with Leaks Behind the Handle in the Wall
If you have a leak behind the handle of your outdoor faucet that is hidden within the wall, here’s what you can do. First, shut off the main water supply to prevent any further damage or flooding. Then, grab a pair of channel locks and carefully unscrew the faucet handle counterclockwise to remove it.
Once the handle is off, you’ll be able to access the bonnet screw and packing nut. Inspect these components to see if they are loose or damaged. If they are, tighten the bonnet screw and packing nut using your channel locks. This should help secure the faucet and stop the leak.
If tightening the bonnet screw and packing nut doesn’t solve the issue, the next step is to replace the entire faucet. Using a wrench, carefully unscrew the faucet from the water pipe in the wall. Take note of the length of the current faucet to ensure you purchase a new one of the same size.
Once you have the new faucet, apply plumber’s tape to the threading on the pipe and screw on the new faucet clockwise. Use your wrench to tighten it securely. Turn on the main water supply and check for any leaks. If all looks good, you’ve successfully replaced the faucet and resolved the issue.
| Issue | Solution |
|---|---|
| Loose bonnet screw or packing nut | Tighten with channel locks |
| Leak persists after tightening | Replace washer at end of stem |
| Leak behind the handle | Change o-rings |
| Leak through anti-siphon valve | Replace rubber washer or plunger |
| Leak behind the handle in the wall | Replace faucet or consult a plumber |
Remember, if you’re unsure about any of these steps or if your outdoor faucet is soldered onto a copper water line, it’s always best to consult a professional plumber for assistance. They will have the expertise and tools needed to diagnose and fix the problem effectively.
Replacing the Faucet with a New One
If all else fails, and the faucet behind the handle in the wall is causing the leak, you may need to replace it with a new one. This is typically a more involved process, especially if the faucet is soldered onto a copper water line. In such cases, it is recommended to consult a professional plumber for assistance.
Replacing an outdoor faucet involves disconnecting the old faucet and installing a new one in its place. If the faucet is soldered onto a copper water line, specialized tools and knowledge are required to safely remove the existing faucet and install a new one.
Consulting a plumber ensures that the replacement is done correctly, minimizing the risk of damaging the water line or causing further leaks. They have the expertise and experience to handle soldered connections and can ensure a smooth and problem-free installation of the new faucet.
Replacing the faucet with a new one is the last resort if all other repair methods have been exhausted. It is essential to address the leak promptly to prevent any further damage to the water line or the surrounding area.
| Advantages | Disadvantages |
|---|---|
| – Provides a long-term solution | – Requires professional assistance for soldered connections |
| – Ensures proper functioning of the faucet | – Involves additional time and cost |
| – Minimizes the risk of future leaks | – Disruption of water supply during the replacement process |
When replacing the faucet, ensure to select a high-quality faucet that is durable and suitable for outdoor use. This will help prevent future leaks and ensure the longevity of the new faucet.
Consult a Plumber for Assistance
If your outdoor faucet is soldered onto a copper water line and you’re unable to fix the leak on your own, it’s best to seek the help of a professional plumber. Soldered connections can be tricky to work with, and attempting to fix the leak without the proper knowledge and tools may result in further damage or even flooding. A plumber can accurately diagnose the issue and provide the necessary repairs to ensure your outdoor faucet is functioning properly.
When choosing a plumber, it’s important to hire someone who is experienced in handling outdoor faucet repairs and has a good reputation. Look for plumbers who are licensed, insured, and have positive customer reviews. You can also ask friends, family, or neighbors for recommendations.
Before hiring a plumber, it’s a good idea to get multiple quotes for the job. This will allow you to compare prices and ensure you’re getting a fair estimate. Additionally, be sure to ask about any warranties or guarantees the plumber offers for their work. A reputable plumber should stand behind their repairs and offer some form of warranty to provide peace of mind.
By consulting a professional plumber, you can avoid potential complications and ensure that your outdoor faucet leak is resolved correctly. A skilled plumber will have the knowledge and expertise to handle soldered connections with care, minimizing the risk of any further issues. Don’t hesitate to reach out for assistance and get your outdoor faucet back to optimal working condition.
| Why Consult a Plumber? | Benefits of Professional Help |
|---|---|
| Experience | A professional plumber has the necessary experience to handle outdoor faucet repairs with precision. |
| Tools and Equipment | Plumbers have access to specialized tools and equipment that are required for soldered connections and other specific repairs. |
| Time and Efficiency | By hiring a plumber, you can save time and ensure that the leak is fixed efficiently without any unnecessary delays. |
| Guaranteed Work | Professional plumbers typically offer warranties or guarantees for their work, giving you added assurance. |
Remember, if your outdoor faucet is soldered onto a copper water line and you’re facing difficulties fixing the leak on your own, consulting a plumber is the best course of action. They have the expertise and resources to address the issue promptly and effectively, restoring your outdoor faucet to its proper functioning state.
Conclusion
In conclusion, fixing outdoor faucet leaks is a simple task that can save you water and prevent further damage. By following these solutions, you can quickly address any issues with your outdoor faucet and ensure it functions properly.
If your outdoor faucet is dripping, start by tightening the handle or knob with a screwdriver or wrench. If that doesn’t solve the problem, unscrew the handle and check if the bonnet screw or packing nut is loose. Tighten it down with channel locks to stop the leak.
If the dripping persists, turn off the main water supply and replace the washer at the end of the stem with a new one of the same size. This is often the culprit behind continuous leaks and can be easily fixed by replacing the worn-out washer.
For leaks occurring behind the handle, it may be necessary to change the o-rings. Remove the handle and bonnet screw, replace the old o-rings with new ones, and reinstall the handle. This should effectively seal any leaks occurring in that area.
If you notice a leak coming out of the top of the spigot through an anti-siphon valve, simply pop off the cap with a flathead screwdriver and replace the worn-out rubber washer or the dislodged plunger. This should stop the leak and ensure proper functioning of the anti-siphon valve.
In the case of leaks behind the handle in the wall, you may be able to unscrew the faucet and replace it with a new one of the same length. However, if the faucet is soldered onto a copper water line, it is best to consult a plumber for assistance to ensure a proper and safe replacement.
By following these step-by-step solutions, you can easily fix outdoor faucet leaks and avoid wasting water. Remember to address any leaks promptly to prevent further damage to your outdoor faucet and the surrounding area.
FAQ
How can I tighten the handle or knob of my outdoor faucet if it is leaking?
You can use a screwdriver or wrench to tighten the handle or knob. If that doesn’t work, you can unscrew the handle and check if the bonnet screw or packing nut is loose. Tighten it down with channel locks.
What should I do if the dripping from my outdoor faucet continues after tightening the handle or knob?
If the dripping continues, you can turn off the main water supply and replace the washer at the end of the stem with a new one of the same size.
How do I change the o-rings behind the handle to fix a leak?
To fix a leak behind the handle, you need to remove the handle and bonnet screw, replace the old o-rings with new ones, and reinstall the handle.
What steps should I follow to fix a leak that is coming out of the top of the spigot through the anti-siphon valve?
If the leak is coming out of the top of the spigot through an anti-siphon valve, you can pop off the cap with a flathead screwdriver and replace the worn-out rubber washer or the dislodged plunger.
How can I deal with leaks behind the handle of my outdoor faucet located in the wall?
If there are leaks behind the handle in the wall, you may be able to unscrew the faucet and replace it with a new one of the same length. However, if the faucet is soldered onto a copper water line, it is recommended to consult a plumber for assistance.