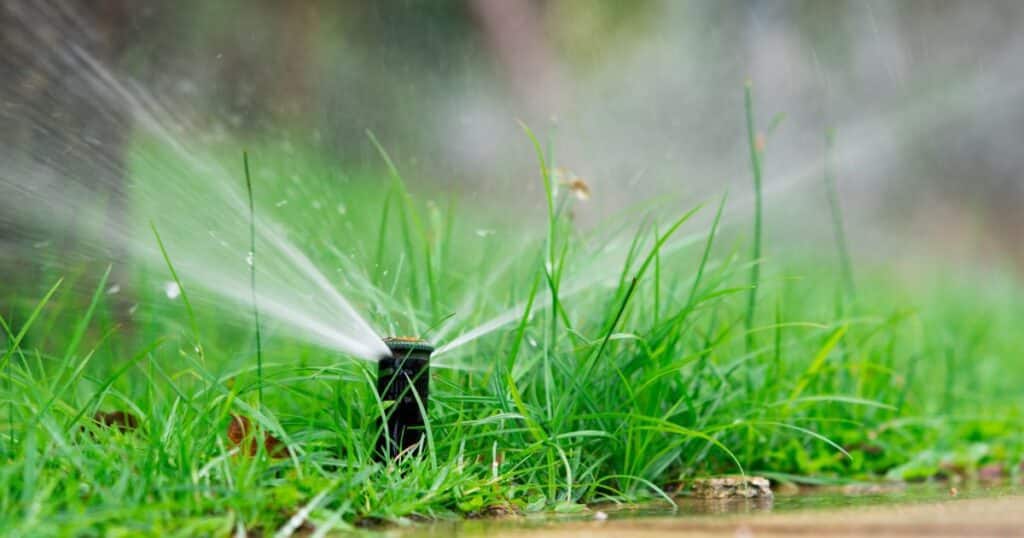
Are your sprinklers missing the mark or overshooting their targets? Don’t fret, dear reader, for we hold the key to sprinkler head distance mastery! Get ready to unlock the secrets of precision watering as we dive into the whimsical world of adjusting sprinkler head distance. From taming unruly water sprays to finding that sweet spot of perfect coverage, prepare to be dazzled by our playful guide that will make your yard the envy of the neighborhood. So, grab your watering wand and join us on this delightful journey to achieve sprinkler head distance perfection!
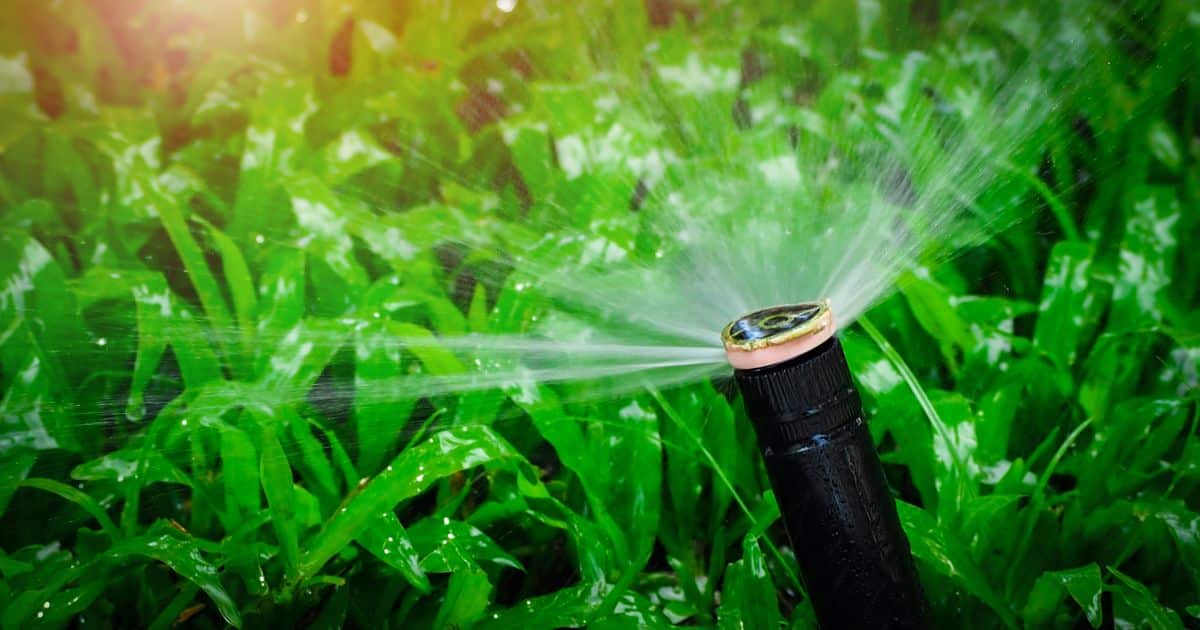
To adjust the sprinkler head distance, locate the radius adjustment screw on the sprinkler head. Using a small screwdriver or your fingers, turn the screw clockwise to decrease the distance or counterclockwise to increase it. Test the adjusted distance by running the sprinklers and make further adjustments if needed until you achieve the desired coverage.
The Importance of Proper Sprinkler Head Distance
A well-maintained and properly functioning sprinkler system is essential for a healthy lawn or garden. One of the most critical aspects of a sprinkler system is ensuring that the distance between each sprinkler head is appropriate.
This distance determines how much water reaches different parts of your lawn or garden, affecting plant growth and overall appearance. If the distance between the sprinkler heads is too far apart, some areas may not receive enough water, leading to dry patches and brown spots.
On the other hand, if they are too close together, overwatering may occur in certain areas, causing waste and potential damage to plants. Properly adjusting sprinkler head distance can help prevent these problems and ensure that your lawn or garden receives just the right amount of water.
Determining Sprinkler Head Distance
If you’re wondering how to adjust sprinkler head distance, the first step is to determine the current spacing between the heads. To accomplish this, grab a tape measure and measure the length from one sprinkler head to another. This straightforward method will provide you with the necessary information to make any necessary adjustments, ensuring your sprinkler system is optimized for efficient watering.
Keep in mind that the distances might be different across your lawn or garden, so you’ll need to repeat this process for each area. Another way to determine sprinkler head distance is by examining your system’s design.
If you have a good understanding of your system’s layout, you may be able to determine distances based on diagrams or blueprints. Now that you know how far apart your sprinkler heads are, it’s important to consider other factors that can affect their performance and adjust accordingly.
The Importance of Water Pressure
One factor that affects sprinkler head distance is water pressure. Generally speaking, the water pressure should be between 30 and 50 PSI (pounds per square inch) for optimal performance.
If the pressure is too low, water won’t reach its intended target, resulting in dry spots. If it’s too high, water may overspray and waste resources.
To ensure proper water pressure in your system, test it by turning on one zone at a time while checking the water pressure gauge at each valve location. Adjust valves as needed until the desired pressure is achieved.
Nozzle Size
Nozzle size also plays a role in determining appropriate sprinkler head distance. Nozzles come in different sizes and shapes depending on their intended use and coverage area. For example, larger nozzles will cover more area but at a lower volume per hour than smaller ones.
To determine which nozzle size to use for specific areas of your lawn or garden:
- Measure the distance between sprinkler heads, as explained previously, then determine the area that needs coverage.
- Check the manufacturer’s recommendations for the appropriate nozzle size based on the distance and required water output for that specific area of your lawn or garden.
- Install nozzles of appropriate size and repeat process as needed until desired coverage is achieved.
The Importance of Proper Coverage
Determining proper sprinkler head distance based on water pressure and nozzle size is crucial in achieving optimal coverage for your lawn or garden. Without proper coverage, plants may experience dry spots or overwatering, which can cause damage to roots and foliage.
Additionally, adjusting sprinkler head distance can help you prevent runoff and save water by ensuring that each zone receives just enough water without over spraying into areas that don’t need it. By taking time to determine current distances and adjust accordingly based on factors such as water pressure and nozzle size, you’ll be able to achieve optimal coverage for your lawn or garden while conserving resources.
RELATED: How to Open Sprinkler System in Spring: Reviving Your Lawn
Adjusting Sprinkler Head Distance
Explaining How to Adjust the Arc and Radius of a Sprinkler Head
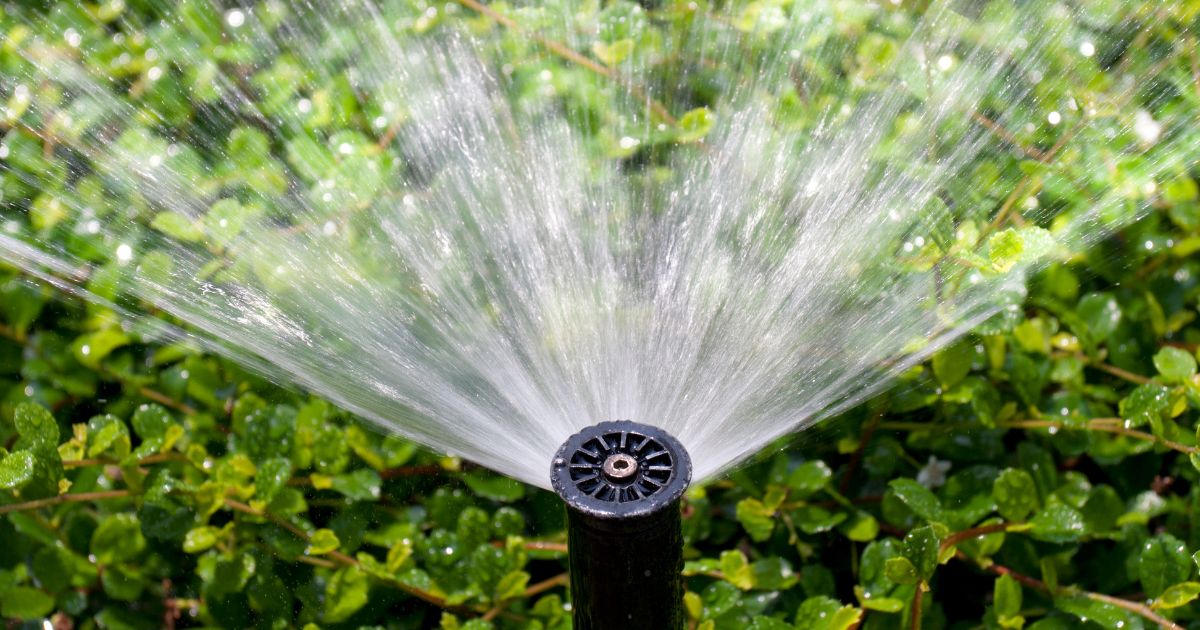
When it comes to adjusting sprinkler head distance, one of the most important aspects is being able to adjust the arc and radius of each individual sprinkler head. The arc is the angle at which the water is sprayed out, while the radius refers to how far that spray reaches. Adjusting these settings can help ensure that your sprinklers are hitting all areas of your lawn or garden evenly.
To adjust the arc, you will need to locate the small screw on top of the sprinkler head. This screw controls how far to one side or another that water will spray.
Using a flathead screwdriver, turn this screw clockwise or counterclockwise until it reaches your desired angle. Adjusting the radius is also relatively simple but requires a little more finesse.
Most sprinkler heads come with a small knob or lever on top that can be turned in order to adjust the distance that water is sprayed out. By turning this knob clockwise or counterclockwise, you can increase or decrease the radius as necessary
Step-by-Step Instructions for Adjusting Sprinkler Head Distance Using a Screwdriver or Pliers
If you need to make more significant adjustments to your sprinklers than just changing their arcs and radii, you may need to use a pair of pliers in addition to a screwdriver. Here are some step-by-step instructions for making these adjustments:
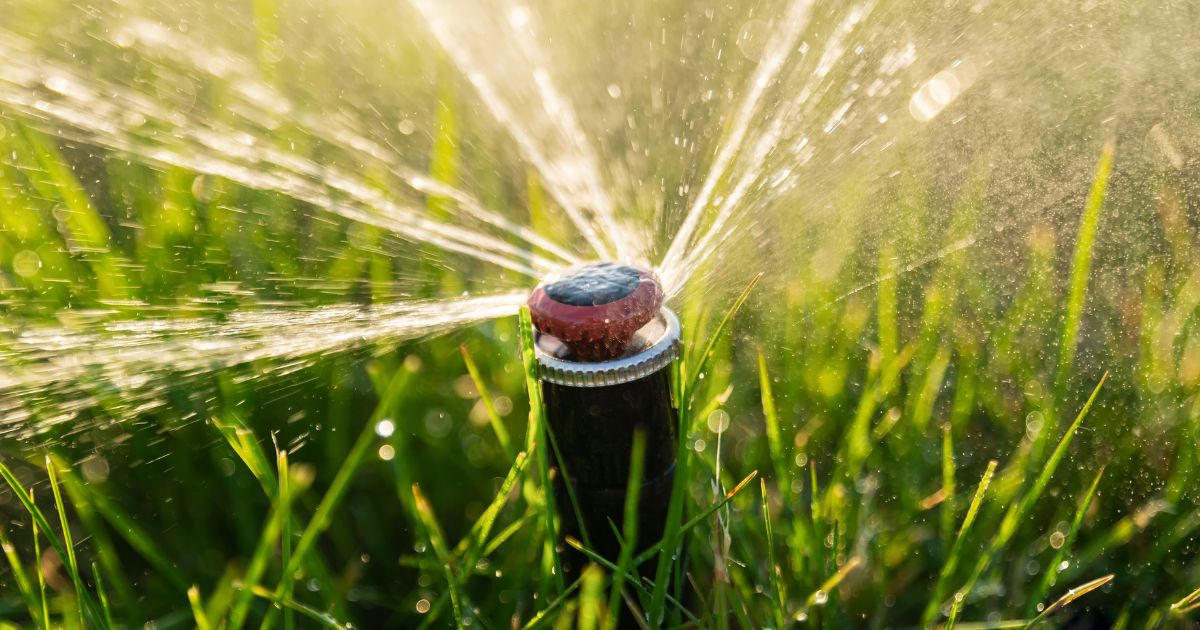
1. First, locate the adjustment collar on your sprinkler head. This collar is typically located just below where water comes out of the nozzle.
2. Use pliers (or sometimes just your fingers) to grip onto this collar and turn it counterclockwise until it stops.
3. Once you have loosened this collar, use a flathead screwdriver to adjust the screw located on top of the sprinkler head. This screw controls the spray distance, so turn it clockwise or counterclockwise depending on which way you need to adjust.
4. Once you have made the necessary adjustment, use your pliers to tighten the adjustment collar back into place by turning it clockwise until it stops.
It is important to note that not all sprinkler heads are adjustable in this way, so be sure to check your specific model before attempting any major adjustments. Additionally, if you are unsure about how to make any adjustments or if you encounter any issues while doing so, consult with a professional landscaper or irrigation specialist for assistance.
Troubleshooting Common Problems
Sprinkler systems are designed to make your lawn look great with minimal effort from you, but like any mechanical system, things can go wrong. Fortunately, most sprinkler problems are easy to diagnose and fix. Here are some common issues that may arise when adjusting sprinkler head distance.
Leaks
One of the most common problems with sprinklers is leaks around the base of the nozzle or where the riser connects to the pipe. Leaks can be caused by a variety of factors, including worn-out seals, cracked pipes, or fittings that have come loose. To diagnose a leak, turn on each zone one at a time and inspect each sprinkler head for signs of water escaping from around the base or end of the nozzle.
If you see water leaking out of your sprinklers, turn off the zone immediately and take steps to fix it. If your sprinklers have a worn-out seal or gasket, replace it with new ones designed for your specific model.
For cracked pipes or fittings that have come loose, you may need to cut out and replace damaged sections. This can be done using PVC pipe and fittings found at any hardware store.
Uneven Coverage
Another problem that can occur when adjusting sprinkler head distance is uneven coverage in certain areas of your lawn or garden. This might result in dry spots or areas where water is pooling excessively. To check for uneven coverage, place several empty tuna cans (or similar containers) throughout your lawn before running your system.
Run each zone for 20-30 minutes, then compare how much water is collected in each container. If there are dry spots in some areas of your lawn, adjust the arc on those particular heads so they spray more evenly over that area by rotating them using a screwdriver until they cover more area as needed.
For areas where water is pooling excessively, you need to reduce the water pressure going to that particular zone. This can be done by adjusting the valve that controls the flow of water to that zone or installing a pressure regulator.
Low Water Pressure
If you notice low water pressure in your sprinkler system, it could be caused by a clog in one of the pipes or valves. Common causes of clogs include debris like dirt and sand getting caught in filters inside valves, along with sedimentation around the sprinkler heads. To fix this problem, first, check all filters for debris and clean them as needed.
If this does not work, try flushing out your system by opening all valves and letting them run for several minutes to clear out any buildup. If low water pressure persists after these steps have been taken, then it may be time to consider having your pipes checked for leaks or damage.
Misaligned Sprinkler Heads
Another common issue is misaligned sprinkler heads which can result in uneven watering patterns. This is usually caused by soil movement or changes around the head due to mowing or foot traffic. To fix misaligned heads, start by turning off your system and digging up around the head.
Straighten it out so that it is level with surrounding surfaces (use a level tool if needed). Then re-bury the head with soil and pack it down tightly before turning on your system again.
RELATED: How To Raise A Sprinkler Head: Reaching New Heights
Advanced Techniques for Fine-Tuning Sprinkler Head Distance
Catch Cups: The Best Way to Measure Water Output
While adjusting the arc and radius of sprinkler heads is an important part of optimizing water distribution, it’s equally important to measure the amount of water being distributed. The best way to do this is by using catch cups, which are small, flat containers that can be placed under a sprinkler head to collect water. To use catch cups, place several throughout your lawn or garden and run the sprinklers for a set period of time (usually 15-30 minutes).
Once you’ve collected all the water from the cups, measure it with a ruler or measuring cup. This will give you an accurate picture of how much water is being distributed in each area, allowing you to adjust your sprinklers accordingly.
If you find that certain areas are receiving too much or too little water, you can adjust the flow rate by changing out nozzle sizes or adding pressure regulators. This will ensure that every area of your lawn or garden receives optimal coverage.
Adjusting Nozzle Sizes for Optimal Coverage
The size and shape of a sprinkler head’s nozzle play a big role in how far and wide it distributes water. If you’re having trouble achieving optimal coverage with your current nozzles, it may be time to experiment with different sizes and shapes. Sprinkler nozzles come in a variety of sizes and shapes, including circular, rectangular, and fan-shaped.
Each shape is designed to distribute water in a specific pattern – for example, circular nozzles are ideal for watering circular areas like flower beds or gardens. To adjust the nozzle size on most types of sprinklers, use pliers to unscrew them from their base and replace them with a different size.
Be sure to choose a size that matches the water flow rate of your sprinkler head, as mismatched sizes can result in uneven coverage or reduced pressure. By experimenting with different nozzle sizes and shapes, you can fine-tune your sprinklers to achieve optimal coverage in every area of your lawn or garden.
Tips and Tricks for Achieving Optimal Coverage
While adjusting the distance between sprinkler heads is important, it’s just one piece of the puzzle when it comes to achieving optimal water distribution. Here are a few additional tips and tricks:
- Water deeply and infrequently – this promotes healthy root growth and reduces water waste
- Mulch around plants – this helps retain moisture in the soil, reducing the need for watering
- Avoid watering on windy days – wind can blow the water away from its intended target, resulting in wasted water
- Water early in the morning or late in the evening – this reduces evaporation rates and ensures that water is absorbed by plants before it has a chance to evaporate
- Regularly check for leaks – even small leaks can waste significant amounts of water over time, so be sure to check your system frequently for signs of leakage.
By following these tips and tricks, you’ll be able to fine-tune your sprinklers for optimal coverage while minimizing water waste.
The Importance of Regular Maintenance
Fine-tuning your sprinkler head distance is an important part of maintaining healthy lawns and gardens but so is regular maintenance. As with any mechanical system, sprinkler systems require regular maintenance to function properly. You should periodically inspect every component of your system, including nozzles, valves, pipes fittings, etc, to make sure they are in good condition and functioning as intended.
You should also clean out any debris that may have accumulated in your system regularly, as this can clog pipes and affect water pressure. By following a regular maintenance schedule, you’ll be able to catch small issues before they become big problems – and ensure that your sprinkler system continues to provide optimal coverage for years to come.
Frequently Asked Questions
How do I adjust the distance on my water sprinkler?
To adjust the distance on your water sprinkler, locate the adjustment screw or tab on the sprinkler head and turn it clockwise to decrease the distance or counterclockwise to increase it.
What is the recommended distance between sprinkler heads?
The recommended distance between sprinkler heads depends on the specific type of sprinkler system you have. Generally, for spray-type sprinkler heads, a spacing of 8 to 15 feet is common, while for rotor-type sprinkler heads, the spacing can range from 15 to 50 feet or more.
How do I adjust my sprinkler settings?
To adjust your sprinkler settings, identify the adjustment mechanisms on your sprinkler heads, such as the rotation adjustment or arc adjustment. Use the provided tool or your hand to rotate or move these mechanisms to customize the spray pattern and coverage area of each sprinkler head.
How do you manually adjust sprinkler heads?
To manually adjust sprinkler heads, locate the radius adjustment screw or tab on the sprinkler head and turn it clockwise to decrease the spray distance or counterclockwise to increase it.
How do I get my sprinklers to spray further?
To get your sprinklers to spray further, ensure that the water pressure is sufficient. Check for any obstructions or clogs in the sprinkler heads or nozzles and clean them if necessary.
Why is my sprinkler head not spraying far enough?
If your sprinkler head is not spraying far enough, it could be due to various reasons, such as low water pressure, clogged nozzles, or misaligned heads. Check the water pressure, clean or replace clogged nozzles, and adjust the sprinkler heads’ settings to ensure proper coverage and spray distance.
Conclusion
Adjusting sprinkler head distance is an important but often overlooked aspect of maintaining a healthy and vibrant lawn or garden. By taking the time to properly measure and adjust the distance between your sprinkler heads, you can ensure that your plants receive the right amount of water without wasting resources or causing damage to your property.
Throughout this article, we have explored various techniques for determining and adjusting sprinkler head distance, as well as troubleshooting common issues that may arise. We have also discussed advanced techniques for fine-tuning your system and achieving optimal coverage in different areas.
As you experiment with your own sprinklers and try out different settings, remember to be patient and observant. Take note of how much water each area receives, as well as any areas that seem to be over- or under-watered.
By making small adjustments over time, you can create a customized watering system that meets the unique needs of your lawn or garden. Remember that proper maintenance is key to keeping your sprinklers working effectively over time.
Regularly inspect your system for leaks or other issues, replace faulty parts when necessary, and consider hiring a professional if you encounter more complex problems. With these tips in mind, we hope you feel empowered to take control of your sprinkler system and create a lush green landscape that will be the envy of all who see it!