Spring has arrived, and it’s time to wake up your dormant sprinkler system from its winter slumber! How to turn sprinkler system on after winter? Get ready to dance in the sprinkler rain as we unveil the secrets of reviving your thirsty lawn. In this playful guide, we’ll show you how to turn on your sprinkler system after winter and bring your garden back to life in a splash-tactic way. So grab your watering can, and let’s dive into the world of sprinkler system reawakening!
To turn on your sprinkler system after winter, follow these three simple steps for a smooth transition. First, locate the main shut-off valve and turn it clockwise to the open position. Next, slowly open the individual zone valves to allow water flow. Finally, inspect the system for any leaks or damaged components and make necessary repairs. Now, get ready to enjoy a lush and vibrant lawn all season long!
Importance of Turning On Sprinkler System After Winter
After months of freezing temperatures and harsh weather conditions during winter, your sprinkler system may have suffered some damage or experienced issues that could prevent it from functioning properly once spring arrives. Proper maintenance is essential for keeping your lawn looking healthy and luscious. By turning on your sprinkler system after winter, you can identify any potential problems before they become major issues later in the season.
This preventative measure can save you both time and money by catching any leaks or malfunctions early on. A properly functioning sprinkler system also ensures that water is distributed evenly across your lawn or garden area.
Without proper hydration during hot summer months can cause brown or dead patches, which are unsightly. So having a working irrigation system will help keep plants looking vibrant
How to Turn Sprinkler System on After Winter
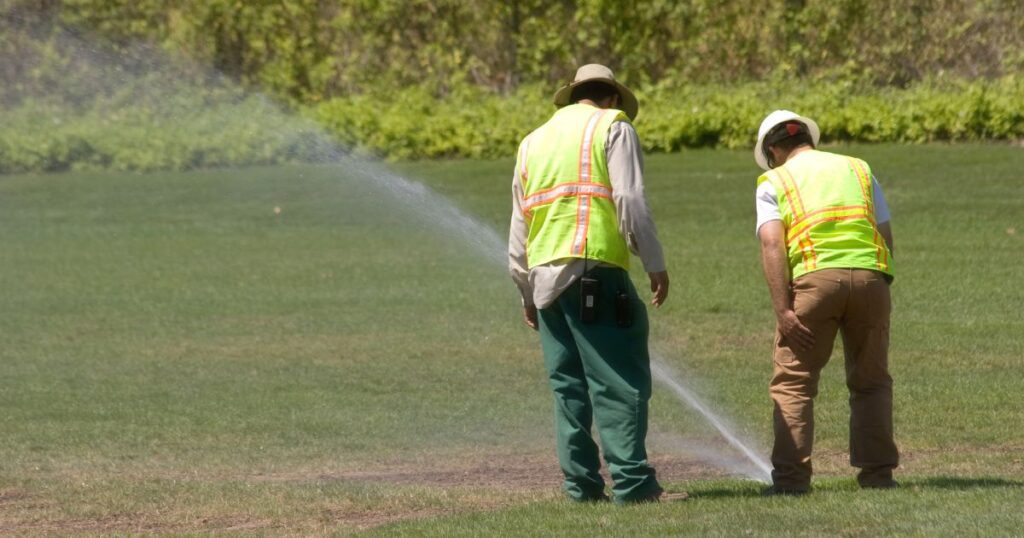
Before starting up your irrigation plan for spring watering needs there are several steps involved in making sure everything runs smoothly without issues. The first step is inspecting the system to make sure that everything is sound. You’ll need to check for damage caused by winter weather, clear any debris or dirt from around the sprinkler heads and replace any broken or damaged parts.
Once you’ve completed your inspection, you can turn on the water supply by locating and turning on the main water valve for the sprinkler system. Slowly open the valve to allow water to flow into the system and check for leaks or other issues.
After this, it’s time to test each zone individually, checking for proper operation of each sprinkler head, adjusting any misaligned heads and checking for leaks or other issues. Adjust controller settings by setting watering schedules based on local watering restrictions and weather patterns as well as setting duration and frequency of watering based on plant needs.
It is important to take these steps when turning on your sprinkler system after winter. Taking these precautions can prevent costly repairs in the long run while also ensuring a healthy lawn and garden throughout the season ahead.
Inspect the System
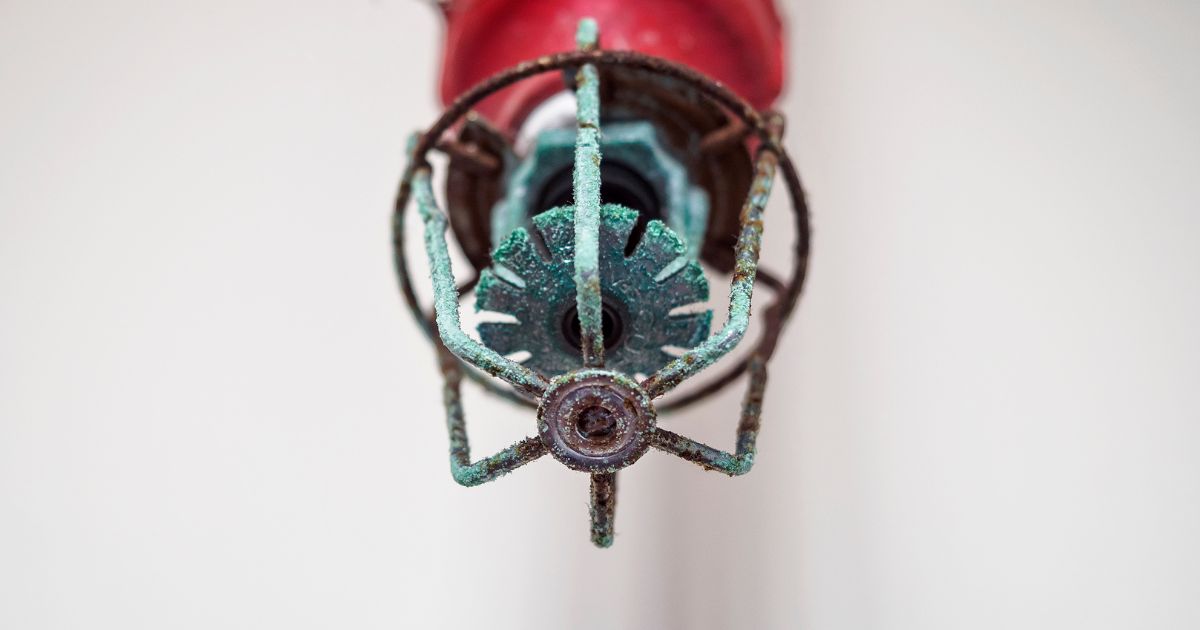
Check for Damage Caused by Winter Weather
Inspecting your sprinkler system after winter is essential to ensure proper functioning throughout the season. The first step is to check for any damage that may have occurred over the colder months. Winter weather can cause pipes to crack or burst, valves to freeze, and other components to become damaged.
Inspect all parts of your sprinkler system thoroughly and make a note of any issues you find. Look for any visible signs of damage, such as cracks in pipes or broken sprinkler heads.
Check all connections between pipes and valves for leaks or loose fittings. If you find any issues, it’s best to replace the affected part rather than try to repair it yourself.
Clear Any Debris or Dirt from Around the Sprinkler Heads
Next, clear away any debris or dirt that may have accumulated around your sprinkler heads during the winter months. Debris can block water from reaching certain areas of your lawn or garden, resulting in dry spots and uneven watering. Start by turning off the water supply and removing any debris that has been collected around each sprinkler head using a small shovel or hand trowel.
Be sure not to damage the heads while clearing away debris. After removing debris from around each head, check them for proper alignment with each other and adjust if necessary using a small wrench.
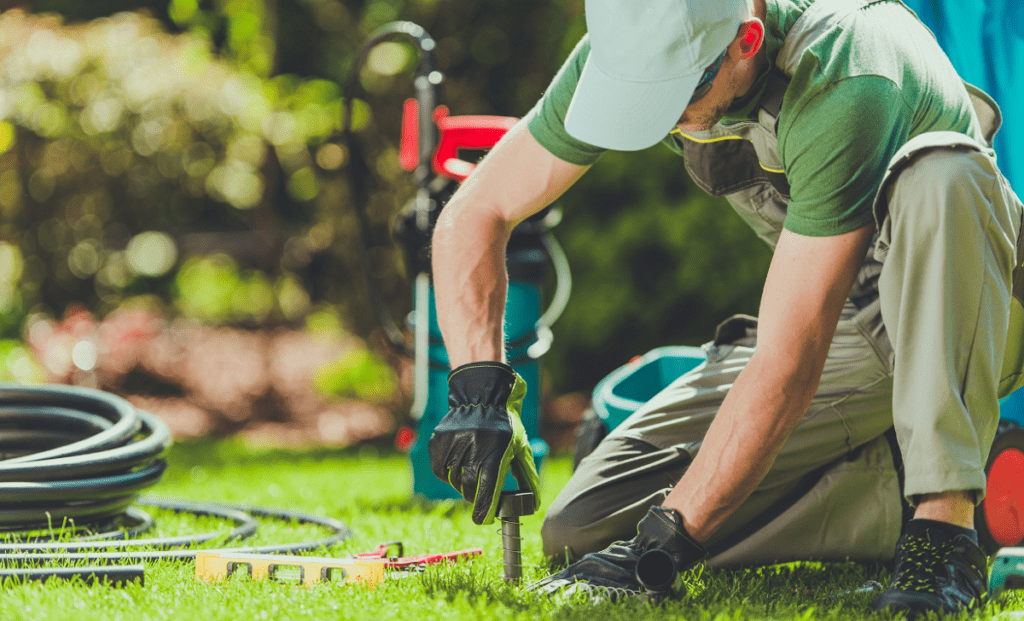
Replace Any Broken Or Damaged Parts
If you found any broken or damaged parts during your inspection earlier, now is the time to replace them. Commonly replaced parts include broken sprinkler heads, cracked pipes, and faulty valves. Look online for replacement parts specific to your system’s make and model.
Once you have obtained replacement parts, turn off the water supply again before removing old parts and installing new ones according to manufacturer instructions. By inspecting your system after winter, clearing away debris, and replacing any damaged parts, you can ensure that your sprinkler system will function properly throughout the season and keep your lawn and garden healthy and vibrant.
RELATED: How to Find Broken Sprinkler Pipe Underground
Turn on Water Supply
After conducting a thorough inspection of your sprinkler system, you are now ready to turn on the water supply. This is a crucial step in getting your system ready for the upcoming growing season. Below are some important steps to follow:
Locate and turn on the main water valve for the sprinkler system
The first step is to locate the main water valve for your sprinkler system. This is usually located near the water meter or in a utility area of your home.
Once you have located the valve, turn it on by turning it counterclockwise. If you have trouble locating or accessing the valve, contact a professional plumber or irrigation specialist who can assist you with this process.
Slowly open the valve to allow water to flow into the system
After turning on the main valve, slowly open it to allow water to flow into your sprinkler system. Be sure to do this gradually as opening it too quickly can cause damage to pipes or other components in your system. You should also take note of any unusual sounds or movements that occur during this process, as they may indicate that there are issues with your pipes or valves.
Check for leaks or other issues
Once you have allowed water to flow into your sprinkler system, walk around and inspect each sprinkler head and pipe for any signs of leaks or damage. If you notice any problems, such as cracks or leaks in pipes, broken valves, clogged nozzles, etc., address them immediately before proceeding with testing individual zones.
You should also check all connections and joints throughout your system for tightness and security. Loose connections can lead to leaks and wasted resources over time.
If you encounter any issues or are unsure how to proceed, it is best to contact a professional irrigation specialist for help. They can diagnose and repair any problems quickly and efficiently, ensuring that your system is operating at its best.
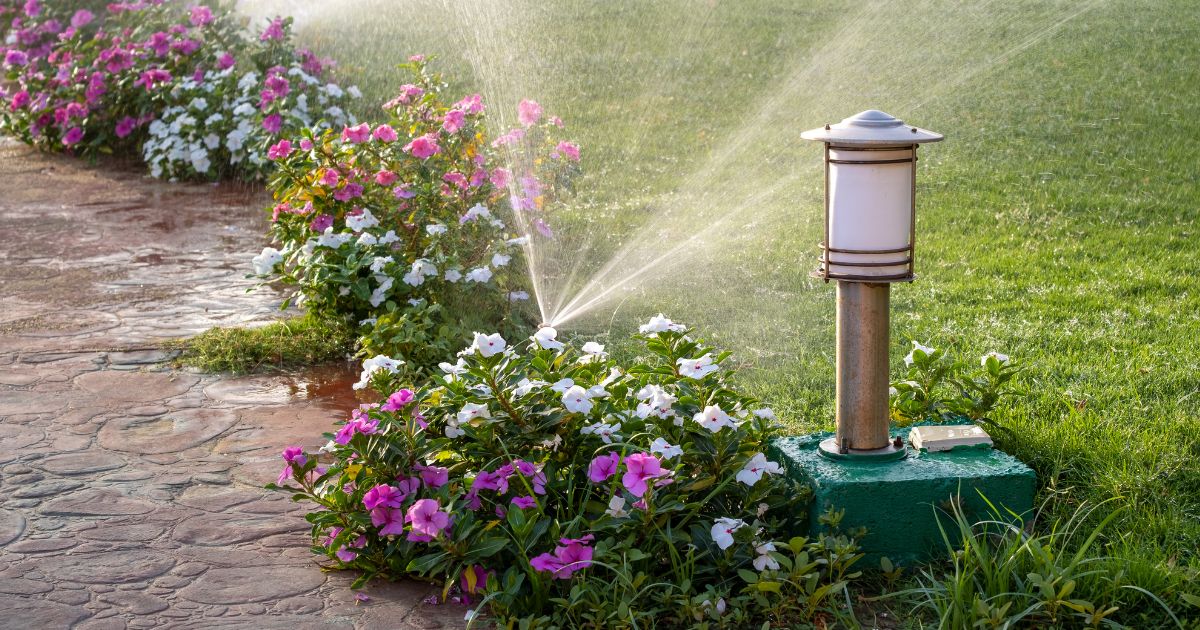
Test Each Zone
Turning on Each Zone and Checking for Proper Operation of Each Sprinkler Head
Once the water supply is flowing and there are no leaks or other issues, it’s time to test each zone of the sprinkler system. Turning on each zone individually allows for a more thorough inspection of the system, ensuring that all sprinkler heads are functioning properly.
Begin by operating each zone for a few minutes, observing whether or not water is being distributed evenly across the desired area. It’s important to note that during this testing phase, any heads that are not functioning properly should be replaced immediately.
Broken or malfunctioning heads can lead to uneven watering and potential damage to lawns and gardens. It’s better to take care of any issues before they cause larger problems down the line.
Adjusting Misaligned Heads
If any sprinkler heads are misaligned during the testing process, it’s crucial to take action immediately. A misaligned head can lead to uneven watering, washed-out sections of lawn or garden beds, and potential damage over time.
To adjust a misaligned head, first turn off the water supply completely. Then use a small shovel or trowel to gently excavate around the head itself.
Once exposed, carefully turn it in the direction needed until it is aimed correctly at its target area. Pack the soil back in place around the bottom of the sprinkler head until covered again and is level with the surrounding soil.
Checking for Leaks or Other Issues
While testing each zone individually, it is important also to check for leaks or other issues, such as clogged nozzles, since these drips may add up over time, causing significant waste in water usage. One way to check for leaks in spray systems is using flags placed adjacent (just outside) to every head in your zone so you can monitor where there might be leaks.
Another way to check for leaks is to walk around the yard and look for low-pressure areas where the water seems to seep rather than spray from nozzles. It’s also important to check any system subparts, such as drip hoses and emitters.
These may have been affected by winter weather and need replacement if damaged. By going through each part methodically, it is easy to see if there are any broken or damaged areas.
Adjust Controller Settings
Once the sprinkler system is turned on, it is important to adjust the controller settings to ensure that your lawn and garden get the appropriate amount of water. There are a few key factors to consider when setting up your watering schedule.
Set Watering Schedule Based on Local Watering Restrictions and Weather Patterns
Most cities or municipalities have watering restrictions in place during peak summer months. These restrictions can vary from area to area, so it is essential to check with your local water authority for specific regulations. For instance, some areas may only allow watering on certain days or during specific hours of the day.
Adhering to these regulations not only ensures compliance but also helps conserve water resources in your community. In addition to local restrictions, you should also consider weather patterns when setting up your sprinkler system’s watering schedule.
If there has been substantial rainfall recently, you may need less frequent watering. Alternatively, if there is a drought warning in effect or prolonged dry spells occur, you may need more frequent watering sessions.
Set Duration and Frequency of Watering Based on Plant Needs
The amount and frequency of watering required for plants depend on several factors such as plant type, soil type, sun exposure level and age of plants as well as the time of year. In general terms, shallow-rooted plants require more frequent short-duration irrigation, while deep-rooted plants require infrequent but longer-duration irrigation cycles.
A good starting point for adjusting controller settings would be 15-20 minutes per zone at least twice a week during average weather conditions before increasing or decreasing based on observed plant response. If you have new plantings or young trees/shrubs that require more water than other vegetation around them, you can create a separate zone dedicated solely to these high-maintenance plants.
Some controller models come equipped with water-saving features, such as rain sensors that shut off the irrigation system once a certain amount of rainfall has been received. You can also manually adjust the watering schedule based on observed plant response to ensure optimal water usage and conservation.
RELATED: How to Open Sprinkler System in Spring: Reviving Your Lawn
Frequently Asked Questions
How do I turn my sprinklers back in after winter?
To turn your sprinklers back on after winter, locate the main valve and slowly open it to restore water flow to the system.
How do I turn my sprinkler system back on?
To turn on your sprinkler system, locate the control panel or timer and adjust the settings to activate the system according to your watering needs.
How do I turn on my in-ground sprinklers after winter?
To turn on your in-ground sprinklers after winter, follow the same steps as for a regular sprinkler system, ensuring the main valve is open, and the control panel is programmed correctly.
How do I manually turn on my sprinkler system?
To manually turn on your sprinkler system, locate the manual valve near the main valve and open it to allow water to flow into the system.
Should I turn my sprinklers back on?
Whether to turn your sprinklers back on depends on weather conditions and watering requirements. Consider factors such as soil moisture, plant needs, and local water regulations before deciding.
How do you start a sprinkler system in the spring?
To start a sprinkler system in the spring, check for any winter damage, clear debris from sprinkler heads, adjust the timer settings, and ensure all valves are open to allow water to reach the sprinklers.
Conclusion
Proper Maintenance for a Healthy Lawn and Garden
After following the steps outlined in this article, your sprinkler system should be up and running for the season. However, it is important to note that proper maintenance throughout the season is critical to ensure a healthy lawn and garden.
Regularly check for leaks, clogs, or other issues that may arise and address them promptly. Additionally, make sure to adjust your watering schedule based on local watering restrictions and weather patterns to avoid overwatering or underwatering your plants.
Seeking Professional Help
If you encounter any issues during the process of turning on your sprinkler system or throughout the season, do not hesitate to seek professional help. A certified irrigation specialist can help identify any problems with your system and provide solutions to keep it running smoothly.
A Final Thought
Maintaining a healthy lawn and garden requires effort, but it is worth it in the end. A green and lush landscape can enhance the beauty of your home while also providing a place for outdoor activities such as picnics or barbecues.
By following the steps outlined in this article, you can ensure that your sprinkler system is functioning properly for a beautiful lawn and healthy garden all season long. Remember that even small efforts towards proper maintenance can yield big results over time.