Attention, treasure hunters of the underground! If you suspect a broken sprinkler pipe lurking beneath the surface, fear not! How to find a broken sprinkler pipe underground, you ask? Prepare to embark on an adventurous journey as we reveal the secrets to locating those elusive pipe fractures. With a little detective work and some handy tools, you’ll uncover the mystery and restore your sprinkler system to its full glory in no time. So gather your shovels, and let’s dive into the thrilling world of underground sprinkler pipe exploration!
To find a broken sprinkler pipe underground, start by turning off the water supply to the system. Use a metal detector or a pipe locator to trace the path of the pipe and identify any irregularities. Then, carefully excavate the area around the suspected break to visually inspect and repair the damaged section.
How to Find Broken Sprinkler Pipe Underground
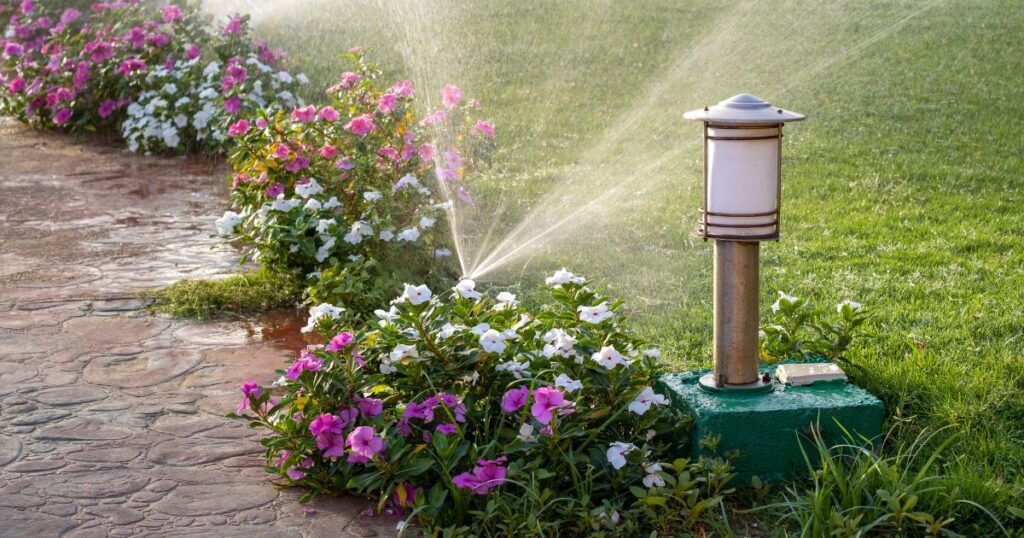
Having broken pipes in your sprinkler system can cause harm to your lawn and wastewater resources. Damaged pipes result in water being distributed unevenly across your yard which leads to dry spots as well as over-saturated areas. These dry spots can cause brown patches in your lawn that will require additional watering to fix.
Over-saturated areas encourage root rot and can kill plants quickly if left unaddressed. In addition to causing damage to your lawn, broken sprinkler pipes can also waste large amounts of water, leading to higher utility bills or even fines from local authorities if there are drought restrictions in place.
According to the US Environmental Protection Agency (EPA), an average household wastes almost 10,000 gallons of water each year due to leaks! Repairing broken pipes not only saves you money but also helps conserve our planet’s finite resources.
How to Find Broken Sprinkler Pipes Underground
Are you seeking guidance on how to find broken sprinkler pipe underground? Don’t worry, we’ve got you covered! The process involves thorough preparation, visual inspection, pressure testing, and strategic excavation for repairs. Before you begin, make sure to gather essential tools like metal detectors, pressure gauges, and shovels. It’s crucial to turn off the mainline valve to conduct accurate tests and precisely pinpoint the damaged section. In this comprehensive guide, we’ll walk you through the step-by-step process of locating and resolving issues with broken underground sprinkler pipes, ensuring your irrigation system stays in optimal condition. Let’s embark on this underground adventure and master the art of finding those hidden pipe fractures like a seasoned pro!
Visual inspection involves walking around suspected areas to look for signs of water pooling or soggy ground. A metal detector can also be used to locate any metal parts of the sprinkler system.
Pressure testing is another step that involves attaching a pressure gauge to the system’s mainline and increasing pressure to detect leaks. Digging up suspected areas using a shovel until you find the broken pipe before repairing it.
Finding broken underground sprinkler pipes requires careful preparation, visual inspection, pressure testing, and excavation before repairing them. While it might seem like an overwhelming task at first, taking the necessary steps to maintain your sprinkler system will save you money in the long run by avoiding costly repairs and conserving precious water resources.
Preparation
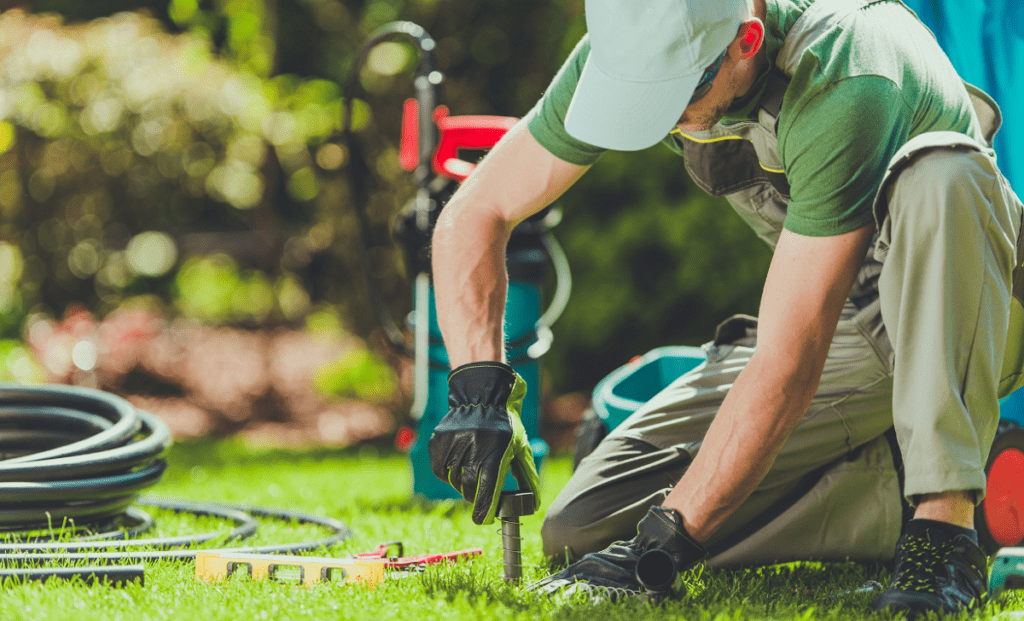
Gather Necessary Tools and Equipment
Before beginning to look for the broken sprinkler pipe, gather all the necessary tools and equipment. This will make the process more efficient and minimize the time spent searching for missing items. The necessary tools for this task include shovels, a metal detector, a pressure gauge, listening devices (optional), PVC cutters or hacksaw blades (depending on the type of pipe), sealant, and replacement pipes.
It is important to note that different types of sprinkler systems may require different tools. For example, if you have an older system that uses copper pipes, you may need a torch and solder to repair any damage.
RELATED: How to Protect Sprinkler System From Freezing: Why it Matters
Turn Off the Water Supply to Avoid Flooding
Before beginning any work on your sprinkler system, it is crucial to turn off the water supply. This will prevent any flooding from occurring while you are trying to locate and fix the broken pipe(s).
Locate your main water valve by following the waterline into your home or consulting your home’s blueprints. Turn off this valve to stop water flow into your system.
After turning off your main water supply valve, it is important to also turn off any automatic timers or controllers that activate your sprinklers’ solenoids so that no one mistakenly turns them on while repairs are being made. By taking these preventative steps in preparation before starting work on repairing a broken sprinkler system pipe underground, not only will you save yourself time, but these precautions will save you from the potential waste of resources with flooding issues caused by accidentally leaving the water running during repair work.
Visual Inspection
Locating Broken Sprinkler Pipes: A Visual Approach
The first step in finding a broken sprinkler pipe is by conducting a visual inspection. By walking around the area, you can be on the lookout for any signs of water pooling or soggy ground.
These are indications that there may be leakage somewhere in the system. Take note of any areas where the ground looks unusually wet or soft.
It’s also important to keep an eye out for plants that appear to be flourishing more than others in certain areas. This could be an indication that there is a leak nearby and the vegetation is benefiting from it.
Another way to visually locate broken sprinkler pipes is to look for depressions in the soil surface. Water leaking from a broken pipe will often cause soil erosion underneath, which can lead to depressions on the surface.
Finding Broken Sprinkler Pipes with a Metal Detector
If you’re struggling to identify where underground pipes are located, using a metal detector may help. Most sprinkler systems are made up of PVC pipes, which do not contain metal, but some components, like sprinkler heads and valves, have metallic parts.
Begin by turning on your metal detector and slowly moving it over areas where you suspect pipes lie buried beneath the soil. You’ll need to adjust your detector’s sensitivity so that it picks up small metallic parts but doesn’t pick up unwanted signals like random debris or small rocks.
When you detect metal, use spray paint or flags to mark its location so that when it comes time for digging, you can accurately pinpoint where each component lies within your system. Once all relevant locations have been marked with flags or spray paint, move on to pressure testing as covered in section IV of this article.
Pressure Testing
Your visual inspection and use of a metal detector may not always be enough to locate the exact location of a broken sprinkler pipe. In some cases, you will need to perform a pressure test to help you identify the location of the leak. A pressure test is an effective way of detecting leaks within your sprinkler system.
Attach a Pressure Gauge to the System’s Mainline
The first step in performing a pressure test is to attach a pressure gauge to the mainline of your sprinkler system. The mainline is usually found near your water meter or where your system connects with the main water supply line. Before attaching the gauge, make sure that all valves leading to other parts of your sprinkler system are closed.
Next, open up one valve on your sprinkler system and let it run for several minutes until all air has been expelled from the line. Once this has been done, close this valve and attach your pressure gauge as per manufacturer instructions.
Increase Pressure to Detect Leaks
Once you have attached the pressure gauge, gradually increase water pressure in increments of 5 PSI until it reaches 20 PSI above normal operating levels. This should create enough pressure in the system to cause any leaks or broken pipes within it to show themselves.
If there are no visible signs of leaks at this stage, allow water to remain in the pipes for approximately 30 minutes before taking another reading on your gauge. If there is still no change in readings after this time, then there are likely no leaks present within your sprinkler system.
Listen for Hissing Sounds or Use a Listening Device To Pinpoint Leaks
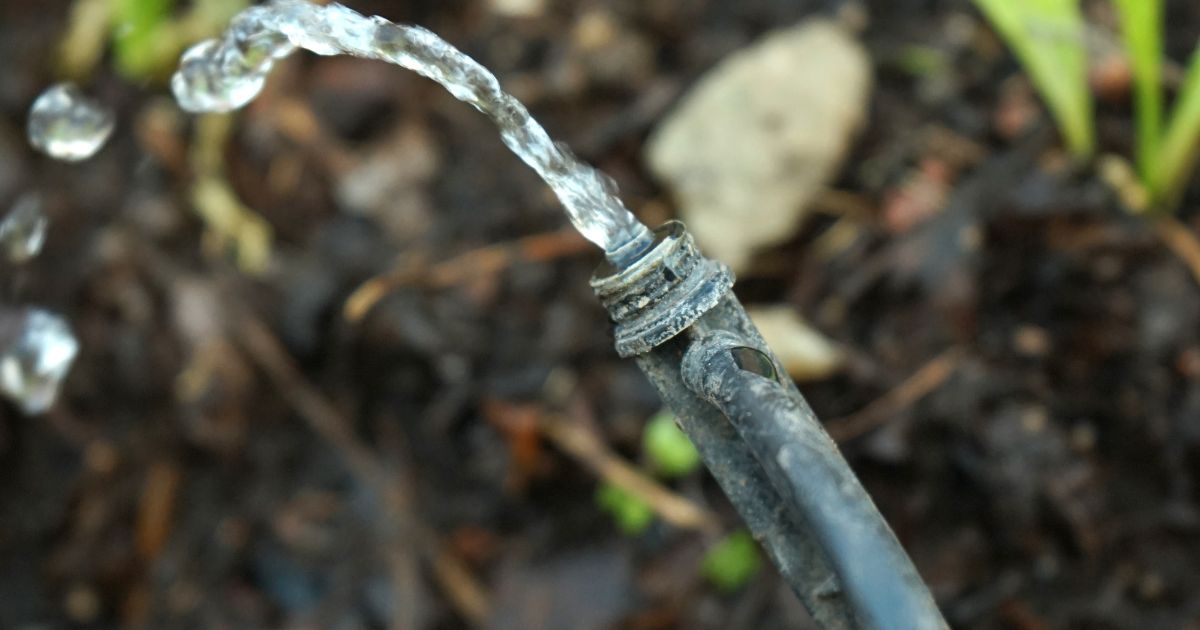
If you do notice changes in readings on your gauge while performing a pressure test, you can use a listening device to pinpoint the location of the leak. A listening device is a special tool that amplifies the sound of water escaping from a broken pipe or leak, making it easier to identify its precise location. If you don’t have access to a listening device, you can also listen for hissing or rushing sounds near your sprinkler system.
This is an indication that water is escaping from a broken pipe or leak in your system. Be sure to mark all areas where you suspect leaks so that they can be easily located during the digging process.
Pressure testing is just one method for finding broken sprinkler pipes underground. It may take some time to complete this test, but it is worth it in terms of saving time and money on repairs in the long run.
Digging
Use a Shovel to Carefully Dig Around Suspected Areas
Now that you have identified the general area where the broken pipe is located, it’s time to start digging. Using a shovel, carefully remove soil from the area around the suspected leak.
Be careful not to dig too deep or too wide, as this can damage other parts of your sprinkler system. As you dig, try to remove soil in layers so that you can easily see any changes in soil color or texture that may indicate a leak.
RELATED: How to Turn Sprinkler System on After Winter: A Guide
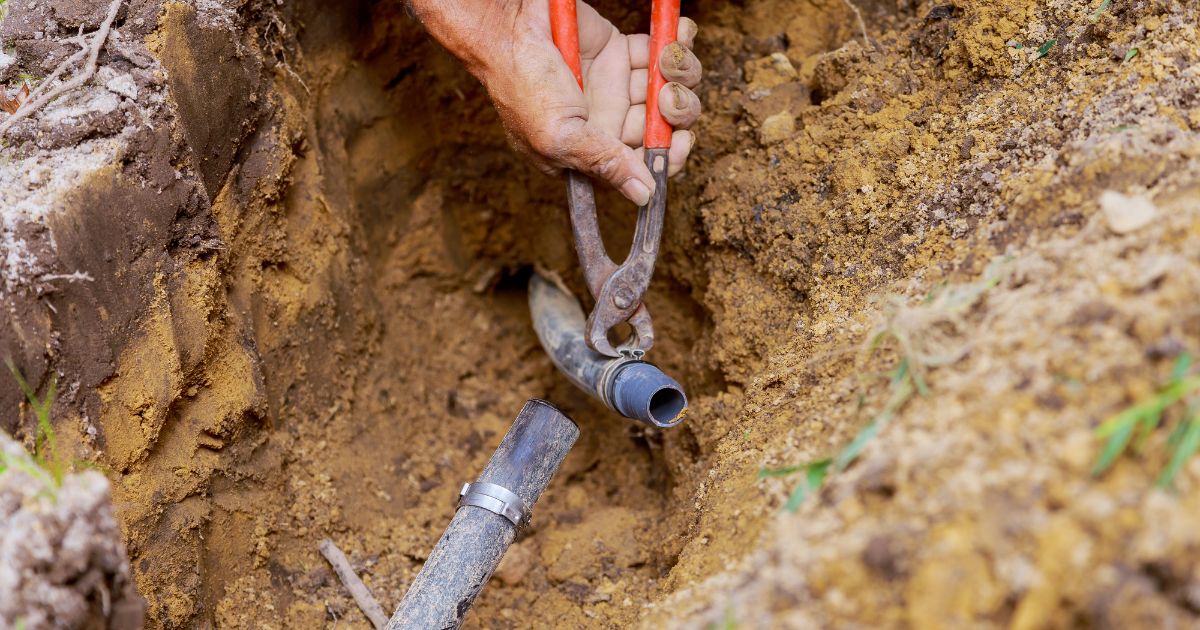
Excavate Until You Find the Broken Pipe
Once you have isolated the suspected area and removed enough soil to work comfortably, it’s time to start looking for the broken pipe. Start by inspecting all visible pipes for signs of damage or leaks.
If no visible damage is present, use a listening device or probe rod to pinpoint the exact location of the leak. When using a probe rod, insert it into the ground at different locations around the suspected area until it hits something solid (like a rock) or encounters resistance (like an underground pipe).
Use flags or spray paint to mark each location where you detect resistance with your probe rod. Once you have marked all potential spots for excavation, begin digging carefully around each one until you find evidence of leaking water.
Common signs of leaking water include damp soil and vegetation growth above or adjacent to underground pipes. If your initial excavation effort doesn’t yield any results, expand your search area by excavating slightly further out from your initial marking points.
Keep in mind that breaks in pipes often occur at joints where two sections of pipe are joined together rather than along straight sections. After locating and excavating around one section of pipe at a time until finding evidence of leaks, ensure that there are no further leaks before covering up any exposed pipes with soil.
When covering up exposed areas of your sprinkler system, be sure to replace any soil that was removed during the excavation process and tamp it down firmly to avoid shifting or settling. Remember, the key to effective digging is to be patient and methodical.
Take your time, work carefully, and don’t be afraid to expand your search area if necessary. With a little bit of effort, you’ll soon find that broken pipe and have it repaired in no time!
Repairing Broken Pipe
After successfully locating the damaged pipe, it’s time to replace the broken section. This process requires some physical labor and a few tools, but it’s relatively straightforward. Follow these steps:
Remove Damaged Section
The first step is to remove the damaged section of the sprinkler pipe. Use a PVC cutter or hacksaw to cut through the pipe at least six inches away from the break on each end. Make sure that you don’t accidentally cut into any other parts of the system.
Next, remove any debris or dirt around the area where you will be working. Use a damp cloth to clean both ends of the remaining pipes, as well as the inside of any fittings or connectors that will be used.
Replace with New Pipe
Select a new piece of PVC pipe that matches the size and type of your broken sprinkler pipe. Using a measuring tape, measure and cut your replacement pipe so that it fits snugly between both ends of your existing piping.
If needed, use sandpaper or emery cloth to smooth out any rough edges on your new piece before installation. Apply some PVC primer to both ends where you’ll make connections, and let it dry for a minute or two.
Seal All Connections Using Appropriate Sealant
The final step is to seal all connections using an appropriate sealant. You can use either PVC glue or a plumber’s tape for this purpose.
If using PVC glue, first apply a coat of it around one end of your replacement pipe as well as inside one end fitting that is already in place in order to make an even coat over everything being connected together; press them together firmly for about 30 seconds while holding everything in place until set (usually takes a few minutes). Repeat this process for the other end of your replacement pipe as well as the other existing fitting.
If using the plumber’s tape, wrap it around each threaded end of the new pipe before installing it into position. Then, screw both ends into their respective fittings, tightening them to an appropriate level – not too loose or too tight so that you don’t damage anything and create leaks.
Turn on the water supply and check for any leaks in newly repaired areas. If everything is working correctly, pat yourself on the back to fix your broken sprinkler system!
Conclusion
Now that you know how to locate broken sprinkler pipes underground, it’s important to remember that regular maintenance of your system is crucial. By keeping your pipes in top shape, you can avoid costly repairs and ensure that your lawn remains healthy and beautiful all season long.
One way to maintain your sprinkler system is by performing regular inspections. Check for any signs of damage or leaks, paying close attention to areas where the ground is soggy or water pools.
Additionally, consider having a professional inspect your system on a regular basis. Another key aspect of maintaining your system is ensuring proper water pressure.
Still can’t find or fix it? Reach out to us.
Frequently Asked Questions
How do I find a break in my underground sprinkler line?
To find a break in your underground sprinkler line, visually inspect for water pooling or saturated soil, or use a leak detection device or professional help.
How do you know if your sprinkler pipe is broken?
Signs of a broken sprinkler pipe include reduced water pressure, water pooling, or visible leaks. Conduct a visual inspection and consider using a leak detection device to locate the break.
How do you find a leak in an irrigation system?
To find a leak in an irrigation system, look for visible signs of water leaks and consider using a leak detection device or professional assistance.
How do you fix an underground sprinkler leak?
Fix an underground sprinkler leak by excavating the area, repairing or replacing the damaged pipe, and ensuring proper sealing and connection.
What happens when a sprinkler line breaks?
When a sprinkler line breaks, it causes water leakage, reduced pressure, inefficient watering, potential water waste, higher bills, and possible damage.
What causes sprinkler pipes to break?
Sprinkler pipes can break due to freezing, ground movement, high pressure, aging, corrosion, or accidental damage. Regular maintenance and prompt repairs are essential.