Adjusting sprinkler heads is an important part of maintaining a healthy and thriving lawn. By ensuring that your sprinkler heads are properly adjusted, you can maximize water coverage and prevent wasting water. In this guide, I will provide you with easy steps to adjust your sprinkler heads effectively. Whether you have gear-driven rotors, pop-up sprinklers, or impact sprinklers, I will walk you through the process of adjusting each type of sprinkler head to ensure optimal performance.
Why Adjust Sprinkler Heads?
Proper sprinkler head adjustment is essential for maintaining a healthy and vibrant lawn. By adjusting your sprinkler heads, you can ensure that each area of your yard receives the right amount of water. This is important because different parts of your lawn may have varying watering needs based on factors such as sunlight exposure and drainage. By making the necessary adjustments, you can prevent overwatering or underwatering your lawn, leading to better water distribution and overall lawn health.
Adjusting sprinkler heads also allows you to adapt to changes in weather conditions. For example, during hot summer months, you may need to increase the spray distance or adjust the arc pattern to provide adequate water coverage. On the other hand, during periods of heavy rainfall, you may want to decrease the spray distance to avoid water wastage. By regularly adjusting your sprinkler heads, you can optimize your watering system based on the current weather conditions and ensure efficient water usage.
Proper sprinkler head maintenance and adjustment can also help you save money on water bills. By ensuring that each sprinkler head is adjusted correctly, you can prevent water from being wasted by spraying on sidewalks, driveways, or other non-target areas. This not only helps to conserve water but also reduces unnecessary expenses. By taking the time to adjust your sprinkler heads, you are making a conscientious effort to be environmentally friendly and financially responsible.
| Benefits of Adjusting Sprinkler Heads | |
|---|---|
| Optimal water distribution | Prevents overwatering or underwatering |
| Adapts to changing weather conditions | Efficient water usage |
| Prevents water wastage on non-target areas | Saves money on water bills |
Steps for Adjusting Sprinkler Heads
Adjusting sprinkler heads is a simple process that can be done with just a few steps. Whether you’re a DIY enthusiast or a homeowner looking to troubleshoot sprinkler head adjustment issues, these steps will guide you through the process. By following these instructions, you can ensure that your sprinkler heads are properly adjusted to provide optimal water coverage for your lawn.
Step 1: Identify the type of sprinkler head you have
Before you can start adjusting your sprinkler heads, it’s essential to identify the type of sprinkler head you have. Whether it’s a gear-driven rotor, pop-up sprinkler, or impact sprinkler, understanding the specific type will help you determine the appropriate adjustments needed.
Step 2: Assess your lawn’s watering needs
Next, you’ll need to assess your lawn’s watering needs. Take a walk around your yard and identify areas that may need adjustments. Factors such as sunlight exposure, slope, and drainage can affect your lawn’s watering requirements. By observing the condition of your grass and soil, you can determine if certain areas need more or less water.
Step 3: Gather the necessary tools and follow specific instructions
Once you’ve identified the type of sprinkler head and assessed your watering needs, gather the necessary tools for the job. This may include a rotor adjustment tool, slotted screwdriver, or hex wrench, depending on the type of sprinkler head you have. Follow specific instructions for adjusting each type of sprinkler head, including rotor sprinkler heads, pop-up sprinkler heads, and impact sprinkler heads. By carefully following these instructions, you can make precise adjustments to ensure optimal performance.
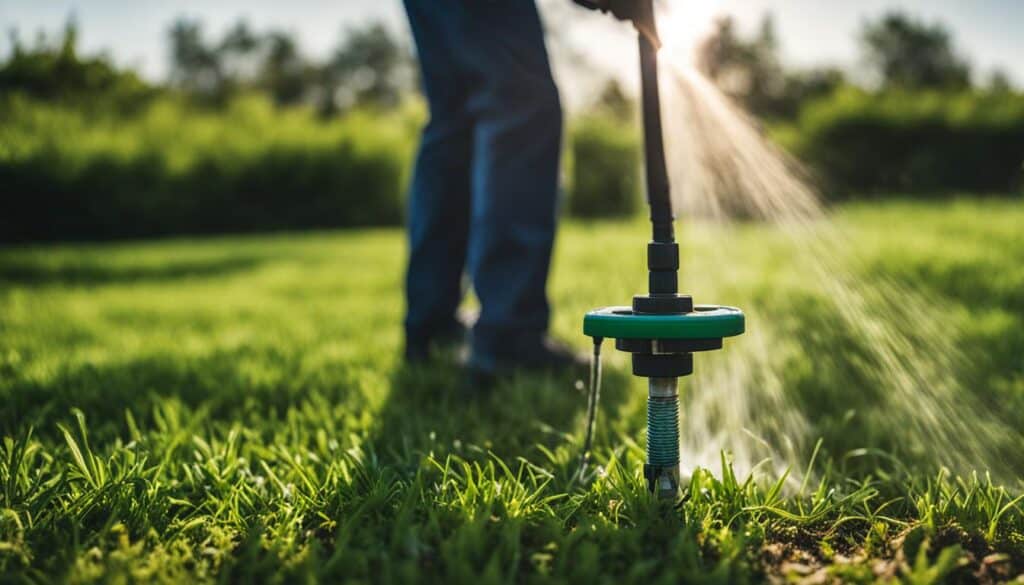
Adjusting Rotor Sprinkler Heads
If you have gear-driven rotor sprinkler heads, adjusting them is a straightforward process that can help optimize their performance. To begin, you’ll need a rotor adjustment tool, which is specially designed for adjusting gear-driven rotors. This tool allows you to increase or decrease the arc of the sprinkler head, determining the range of coverage.
To adjust the rotor sprinkler head, insert the rotor adjustment tool into the adjustment screw on top of the sprinkler head. Turn the tool clockwise to increase the arc or counterclockwise to decrease it. As you make the adjustments, observe the water flow and coverage pattern to ensure that you achieve the desired spray distance and uniform water distribution across your lawn.
Remember to follow the manufacturer’s recommendations for adjusting gear-driven rotor sprinkler heads and refer to any specific instructions provided with your particular model. By utilizing the rotor adjustment tool and carefully observing the spray distance, you can ensure that your gear-driven rotor sprinkler heads are properly adjusted for optimal performance.
Gear-Driven Rotor Sprinkler Head Adjustment
| Step | Action |
|---|---|
| 1 | Insert the rotor adjustment tool into the adjustment screw on top of the sprinkler head. |
| 2 | Turn the tool clockwise to increase the arc or counterclockwise to decrease it. |
| 3 | Observe the water flow and coverage pattern to ensure the desired spray distance and uniform water distribution. |
| 4 | Refer to manufacturer recommendations and specific instructions for your model. |
By following these steps and referring to the table above, you can confidently adjust the gear-driven rotor sprinkler heads in your lawn irrigation system, ensuring efficient water usage and a healthy, vibrant lawn.
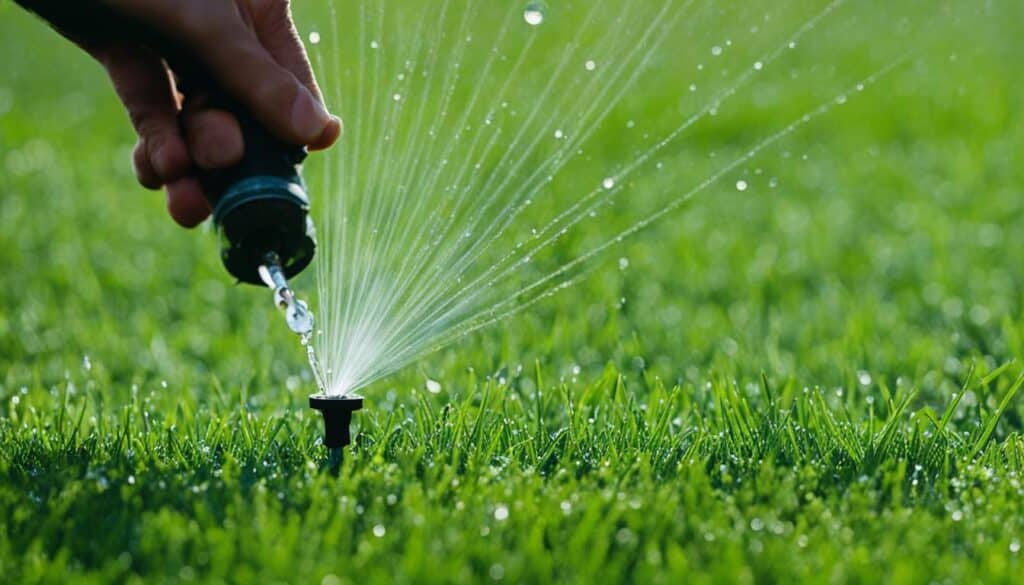
Adjusting Pop-Up Sprinkler Heads
Pop-up sprinkler heads are a common type of sprinkler system used for residential and commercial lawns. These sprinklers provide a circular spray pattern and are adjustable to ensure proper coverage. Here are the steps to adjust pop-up sprinkler heads effectively:
1. Identify the type of pop-up sprinkler head
Before making any adjustments, it’s important to know the type of pop-up sprinkler head you have. Different manufacturers may have specific adjustment methods, so refer to the user manual or contact the manufacturer if needed.
2. Adjust the arc pattern
While pop-up sprinkler heads have a fixed spray nozzle, you can still adjust the arc pattern to cover the desired area. Use a flat-headed screwdriver to locate the adjustment screw on the nozzle. Turning the screw clockwise will decrease the arc pattern, while turning it counterclockwise will increase the arc pattern.
3. Position the stem for proper coverage
To ensure optimal coverage, adjust the position of the stem. Use the same flat-headed screwdriver to turn the screw at the base of the sprinkler head. Turning it clockwise will raise the stem, while turning it counterclockwise will lower the stem. Adjust the stem position until the spray reaches the desired distance and overlaps adjacent sprinkler heads.
By following these steps, you can customize the coverage of your pop-up sprinkler heads to meet the watering needs of your lawn. Remember to test the adjustments by running the sprinkler system and make further tweaks if necessary. Properly adjusted pop-up sprinkler heads will help maintain a healthy and lush lawn.
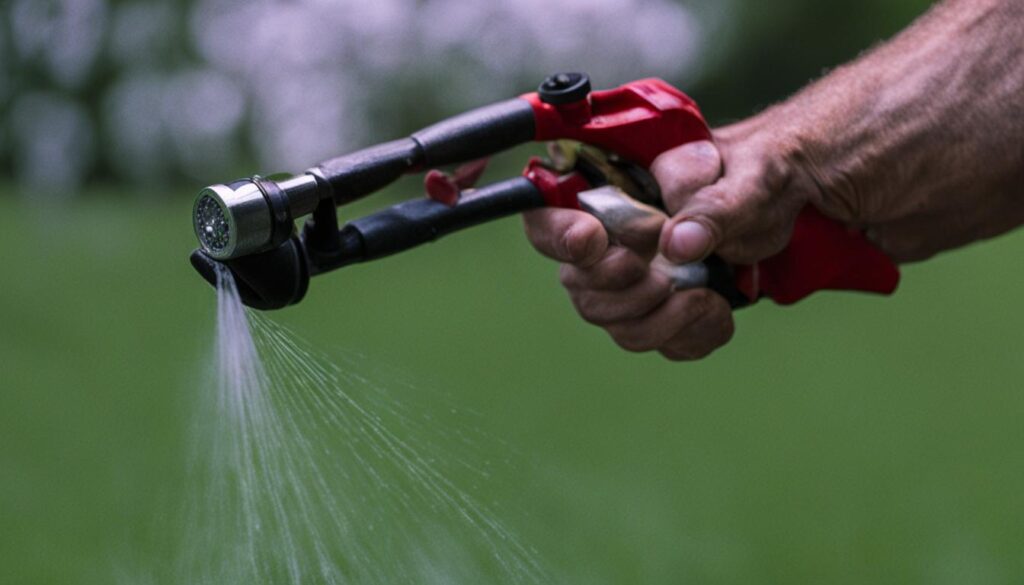
Adjusting Impact Sprinkler Heads
When it comes to adjusting impact sprinkler heads, the process is relatively straightforward. These sprinklers are designed to provide widespread coverage and are commonly used in large areas such as lawns, gardens, and agricultural fields. To ensure optimal performance, it is important to adjust both the spray and the arc of the sprinkler heads. By making these adjustments, you can customize the water distribution to meet the specific needs of your landscape.
To adjust the spray of an impact sprinkler head, you can simply rotate it clockwise or counterclockwise. This will increase or decrease the distance that the water is sprayed. It is recommended to start with a lower setting and gradually increase it until you achieve the desired coverage. Observing the spray pattern while making adjustments can be helpful in determining the ideal setting.
In addition to adjusting the spray, you may also need to adjust the arc of the impact sprinkler head. The arc refers to the angle at which the water is sprayed. Some impact sprinkler heads have an adjustable deflector shield that allows you to change the arc pattern. By rotating the deflector shield, you can control the direction and width of the water spray. This is particularly useful when customizing the coverage of your sprinkler system.
Tips for Adjusting Impact Sprinkler Heads
Here are a few tips to keep in mind when adjusting impact sprinkler heads:
| Tips |
|---|
| 1. Start with a lower spray setting and gradually increase if necessary. |
| 2. Observe the spray pattern while making adjustments. |
| 3. If available, use the deflector shield to adjust the arc. |
| 4. Make sure the sprinkler head is securely anchored in the ground to prevent movement. |
| 5. Regularly check and clean the sprinkler heads to ensure proper functionality. |
By following these tips and utilizing the appropriate tools, such as an impact sprinkler adjustment tool, you can easily adjust the spray and arc of your impact sprinkler heads. This will help you achieve optimal water distribution and ensure a healthy and vibrant landscape.
FAQ
Why is adjusting sprinkler heads important?
Adjusting sprinkler heads is important to maximize water coverage, prevent water waste, and ensure that each area of your lawn receives the appropriate amount of water.
How do I identify the type of sprinkler head I have?
You can identify the type of sprinkler head by visually inspecting it. Gear-driven rotors have rotating heads, pop-up sprinklers have nozzle heads that pop up from the ground, and impact sprinklers have a large single spraying head.
What tools do I need to adjust sprinkler heads?
The necessary tools may include a rotor adjustment tool, slotted screwdriver, hex wrench, flat-headed screwdriver, adjustable pliers, and an adjustment ring for impact sprinklers.
How do I adjust gear-driven rotor sprinkler heads?
To adjust gear-driven rotor sprinkler heads, use a rotor adjustment tool to increase or decrease the arc and observe the water flow to ensure the correct adjustment and spray distance.
Can I adjust the arc on pop-up sprinkler heads?
No, the arc on pop-up sprinkler heads is fixed. However, you can adjust the arc pattern and stem position to cover the desired spray distance.
How do I adjust impact sprinkler heads?
To adjust impact sprinkler heads, rotate them clockwise or counterclockwise to increase or decrease the spray arc. You can also use an adjustment ring to grip the nozzle and make adjustments.
Should I keep the water running while adjusting sprinkler heads?
It’s helpful to keep the water running to observe the spray pattern and make real-time adjustments.
Where can I find specific tools and replacement heads for sprinkler heads?
You can contact the Sprinkler Supply Store, a reputable supplier that offers a wide range of sprinkler components.


