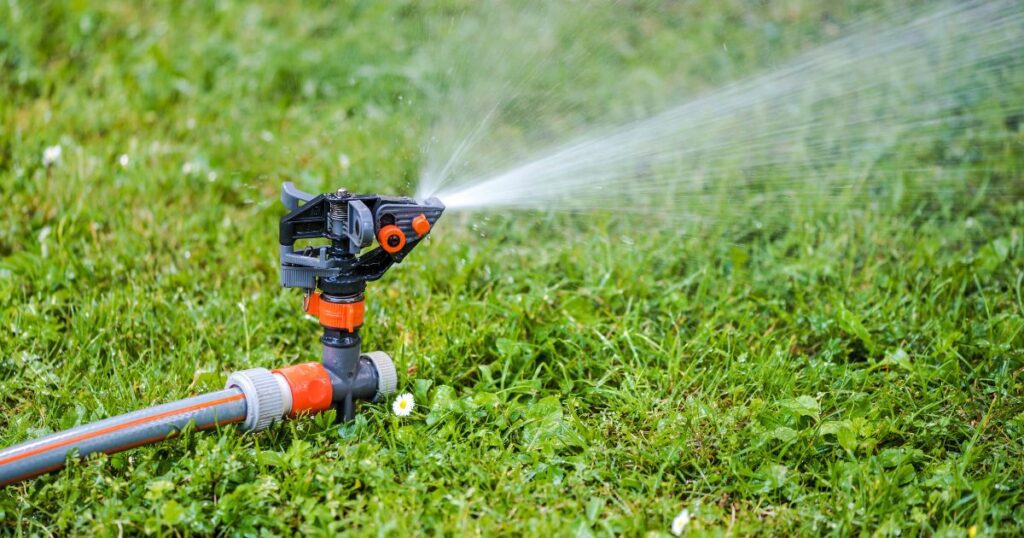
Attention, fellow sprinkler enthusiasts! The arrival of spring signals the awakening of your cherished sprinkler system from its winter hibernation. But fear not, for we have the ultimate guide on how to dewinterize sprinkler system and reignite their watery wonders. Join us as we embark on a thrilling journey, uncovering step-by-step instructions to bring your sprinklers back to life. So, gather your gardening gear and prepare for a refreshing wave of irrigation magnificence!
To dewinterize your sprinkler system, start by turning on the main water supply to the system. Next, open all the manual drain valves and allow the water to flow freely until no air bubbles are present. Finally, program your sprinkler controller with the desired watering schedule, ensuring that all zones are properly set. It’s time to wave goodbye to winter and let your sprinklers dance in the sunshine once again!
Explanation of What Winterizing a Sprinkler System Means
Winterizing a sprinkler system is a necessary precaution for homeowners living in areas where freezing temperatures are common during winter months. When water freezes inside pipes and other components of a sprinkler system, it expands and can cause serious damage, such as cracked or ruptured pipes/valves, which can be quite expensive to repair.
To prevent this from happening, homeowners usually remove all the water from their irrigation lines by blowing compressed air through them until there isn’t any moisture left inside. Once all water has been removed from the lines, they can be safely stored without fear of damage occurring over winter months.
The Importance of Dewinterizing Before Using The System Again
As the season’s transition from winter to spring, dewinterizing your sprinkler system becomes a crucial task, equally vital as winterization. Mishandling this process can lead to extensive damages, resulting in costly repairs. To ensure a smooth and damage-free reactivation, it’s essential to know how to dewinterize sprinkler system, taking the necessary steps to address potential issues like frozen water expansion, hidden breakage, and the prevention of mold or mildew growth that could jeopardize your landscaping and local groundwater supplies. Stay tuned as we unveil the key techniques and precautions for a successful sprinkler system dewinterization!
It’s crucial you follow the steps we outline carefully to ensure that you dewinterize your sprinkler system properly and safely. Stay tuned for the following sections, where we will outline exactly what tools and materials are needed for this process and a step-by-step guide to dewinterizing your sprinkler system quickly and easily.
Tools and Materials Needed
Dewinterizing a sprinkler system requires specific tools and materials to ensure that the job is done properly. Here is a list of what you will need:
Compressed air or shop vac
The most important tool for dewinterizing your sprinkler system is either compressed air or shop vac. Using compressed air is the most efficient way to blow out any remaining water in the pipes. However, if you do not have access to compressed air, using a shop vac can also be effective.
Pipe wrench
A pipe wrench is necessary for removing any sprinkler heads that are attached to pipes in hard-to-reach places. It can also be used to tighten any loose fittings or connections in the system.
Pliers
You may need pliers to loosen or tighten specific parts of your sprinkler system, such as valves or fittings. Needle-nose pliers can be particularly helpful for working in tight spaces.
Screwdriver
A screwdriver will come in handy when removing any screws that are holding parts of your sprinkler system together. A Phillips-head screwdriver is ideal since many sprinklers and valves have this type of screw.
Teflon tape
Teflon tape should be used on all threaded connections including those on shut-off valves, drain valves, and backflow preventers.
Teflon tape helps create a tight seal between two threaded connections preventing leaks at these connection points.
This thread sealant tape comes in spools with widths ranging from 1/2″ up to 4″.
The bigger the pipe diameter used, the wider the Teflon tape should be. By having these tools and materials on hand, you will be able to properly dewinterize your sprinkler system without any issues. Once you have everything ready, the next step is to follow the steps to dewinterize, which will be detailed in the next section.
Steps to Dewinterize Sprinkler System
Turn off Main Water Supply
The first step in dewinterizing your sprinkler system is to turn off the main water supply. Locate the main water supply valve and turn it off to prevent water from flowing into the system.
The valve is usually located near the meter or where the pipe enters your home or building. It’s essential to turn off the main water supply before starting any work on your sprinkler system.
Drain Water from Pipes
After turning off the main water supply, you need to drain any remaining water from your pipes and sprinkler heads. Open all drain valves and remove all sprinkler heads to allow water to drain out of pipes completely.
If there are any low spots in your system, make sure that they have completely drained as well. To ensure that all remaining moisture has been removed, use compressed air or shop vac.
Attach this tool to one of the heads in each zone, starting with zone 1, and slowly blow air through each zone until no more liquid comes out of any open drains. Note: Only use compressed air if you are comfortable and confident using it safely.
RELATED: How To Turn On Sprinkler System In Spring: Complete Guide
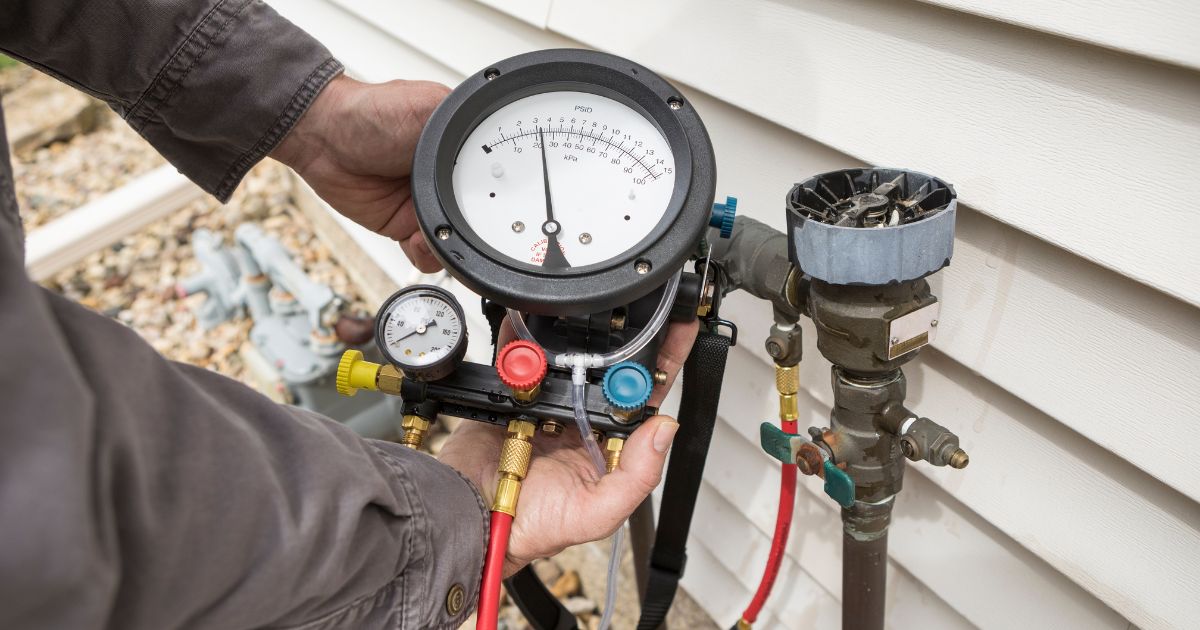
Check for Damage or Leaks
The next step is crucial before turning on your sprinklers after winterization: inspecting for damage or leaks. Inspect every component of your system: pipes, valves, fittings, nozzles, rotors – everything! Look for cracks, holes, breaks, and other signs of damage that could cause leaks during regular use.
If you find damaged parts while inspecting them visually, be sure to replace them before proceeding further with re-activating the system Note: Don’t overlook small leaks, as they can cause significant damage over time if left unaddressed.
Turn on Main Water Supply
After all the above steps have been completed satisfactorily, it’s time to turn on the main water supply. Slowly turn the valve back on and allow water to flow through the system for a few minutes. This procedure will flush out any remaining debris or air that may be present in your pipes or sprinkler heads.
Note: Be cautious when turning back on the main valve. Do it slowly to avoid any sudden pressure surges that can damage your system.
Test Each Zone
The final step in dewinterization is testing each zone one at a time and checking if all sprinklers are working correctly. To do this, turn on each zone one at a time and watch for signs of leaks or misaligned/clogged sprinkler heads.
If you notice any such issues, stop the test immediately and address them before moving on to another zone. Adjust any misaligned heads using a flathead screwdriver, so they spray in the right direction, check for clogged nozzles, and take steps to clear them if necessary.
Note: Regular maintenance of your sprinkler system will save time, money, and frustration over its lifetime. Don’t neglect it!
Additional
Maintenance Tips for Sprinkler Systems
Dewinterizing your sprinkler system is just one aspect of keeping it in good condition. Regular maintenance and upkeep can prevent costly repairs and extend the life of your system. Here are some tips for maintaining your sprinkler system:
- Adjust sprinkler heads regularly to ensure proper coverage and avoid wasting water.
- Check for leaks or damaged parts after mowing or landscaping activities that may have caused damage to the system.
- Schedule regular inspections and maintenance with a professional irrigation company to catch any potential problems before they become major issues.
- Consider upgrading to a smart irrigation controller that uses weather data to adjust watering schedules and reduce water waste.
Preparing Your Sprinkler System for Winter
After dewinterizing your sprinkler system, it’s important to prepare it for the next winter season. Here are some steps you can take:
- Drain all water from the pipes and valves before freezing temperatures set in.
- Insulate exposed pipes and above-ground valves with foam insulation sleeves or heat tape.
- Disconnect hoses from outdoor faucets and store them indoors.
- Turn off the main supply valve and drain any remaining water from the backflow prevention device.
RELATED: How To Split A Zone In An Existing Sprinkler System
Frequently Asked Questions
Do you need to Dewinterize a sprinkler system?
Yes, if you have previously winterized your sprinkler system, you will need to reverse the process by dewinterizing it before using it again in the spring.
How do I turn on my sprinkler system after winterization?
To turn on your sprinkler system after winterization, close any drain valves or plugs that were opened during the winterization process, then slowly open the main water valve to allow water to flow back into the system.
How do you flush a sprinkler system?
To flush a sprinkler system, open each zone valve one at a time to allow water to flow through the sprinkler heads. Let the water run for a few minutes until it appears clear and free of any debris or sediment.
How do I start my sprinklers again?
After winterization, you can start your sprinklers again by ensuring the water supply is turned on, checking for any closed valves or drains, and programming your sprinkler controller to run the desired watering schedule.
What is the winterization of sprinklers?
Winterization of a sprinkler system refers to the process of preparing the system for freezing temperatures during the winter months. This typically involves draining the water from the pipes and components to prevent them from freezing and potentially causing damage.
What happens if sprinklers are not winterized?
If sprinklers are not winterized, the water inside the pipes can freeze, expand, and potentially cause the pipes to crack or burst. This can result in costly repairs and the need to replace damaged components of the sprinkler system.
Conclusion
Maintaining a healthy lawn requires proper watering, which means having a functional sprinkler system. Dewinterizing your sprinkler system is an essential step in ensuring it’s ready for use during the warmer months. By following these steps, you can avoid costly repairs due to freeze damage, leaks, or other malfunctions.
Remember, regular maintenance is key to keeping your sprinkler system in good working order. Inspecting your system periodically throughout the year can help identify potential problems early on.
Additionally, preparing your sprinkler system properly for winter will help prevent freeze damage. By taking care of your sprinkler system, you can enjoy a lush, healthy lawn all season long while minimizing water waste and reducing your environmental impact.