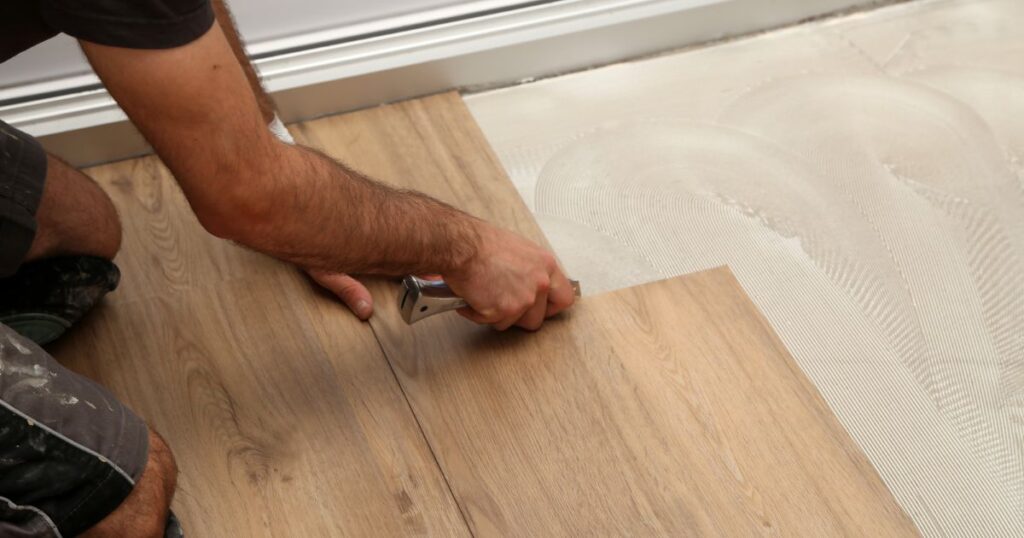
How to stagger vinyl plank flooring? Vinyl plank flooring is a popular flooring option for any room in your home. It’s durable, easy to clean, and can mimic the look of hardwood floors.
It’s also relatively easy to install, but one crucial aspect that is often overlooked is staggering the planks properly. Staggering the planks means alternating the end joints of each row, creating a more natural and seamless appearance.
Brief Explanation of What Vinyl Plank Flooring Is
Vinyl plank flooring is made from PVC (polyvinyl chloride) resin and comes in long strips that resemble wood planks. They come in various widths and lengths, with different colors and textures available to suit any style or preference. They’re also water-resistant, making them an excellent choice for areas prone to spills or moisture, like kitchens or bathrooms.
The Importance of Staggering the Planks for a Professional-Looking Finish
Staggering the vinyl plank flooring ensures that there are no noticeable patterns or repeating seams between planks. If you don’t stagger correctly, it can create an uneven look that will be immediately apparent even from far away. Proper staggering creates a more natural flow between the planks, giving your floor a high-end finish that looks like real hardwood.
Not staggering your vinyl plank floor can also cause issues with expansion and contraction as temperatures change throughout the day or year. Without proper staggering, weight distribution across seams may cause gaps in your floor over time which can be unsightly and even dangerous to walk on.
The proper staggering technique when installing vinyl plank flooring cannot be overstated if you want a professional-looking finish. A little extra time taken during installation will ensure your floors last for years without unsightly gaps or uneven patterns disrupting their appearance.
RELATED: How Much Extra Flooring to Buy?
How to Stagger Vinyl Plank Flooring
Measuring the room and calculating how many planks are needed
Measuring the room accurately is crucial for any successful vinyl plank flooring installation. You can’t just wing it and hope for the best. Measure twice, cut once.
That’s the mantra you need to have in your mind when preparing for your flooring installation. Calculating how many planks are needed is also important.
Don’t make assumptions about how much material you’ll need based on a rough estimate of square footage. You need to account for waste, cuts, and even replacement pieces in case some of the planks end up being damaged during installation or later on.
Acclimating the planks to the room’s temperature and humidity
This is a step that most people tend to skip or overlook, but it’s incredibly important if you want your vinyl plank flooring to look good and last long. Acclimation means allowing the planks to adjust to their new environment by leaving them in the room where they’ll be installed for at least 48 hours prior to installation.
Temperature and humidity changes can cause vinyl plank flooring to expand or contract, which can lead to gaps between planks or buckling over time. By acclimating your planks beforehand, you’re giving them time to adjust so that these issues don’t occur.
Ensuring the subfloor is clean, level, and dry
The subfloor is like a foundation for your vinyl plank flooring – if it’s not solid, level and clean then everything else will be affected negatively. Make sure that any debris or dust has been swept away before starting installation.
A level subfloor will ensure that there are no noticeable bumps or dips between each plank while walking on it. If there are any areas that aren’t level, use a self-leveling compound as necessary to even out the surface.
Ensure that the subfloor is completely dry before laying down the vinyl plank flooring. Any moisture on the subfloor can cause mold and mildew to grow under your new floor, which can lead to health problems down the line.
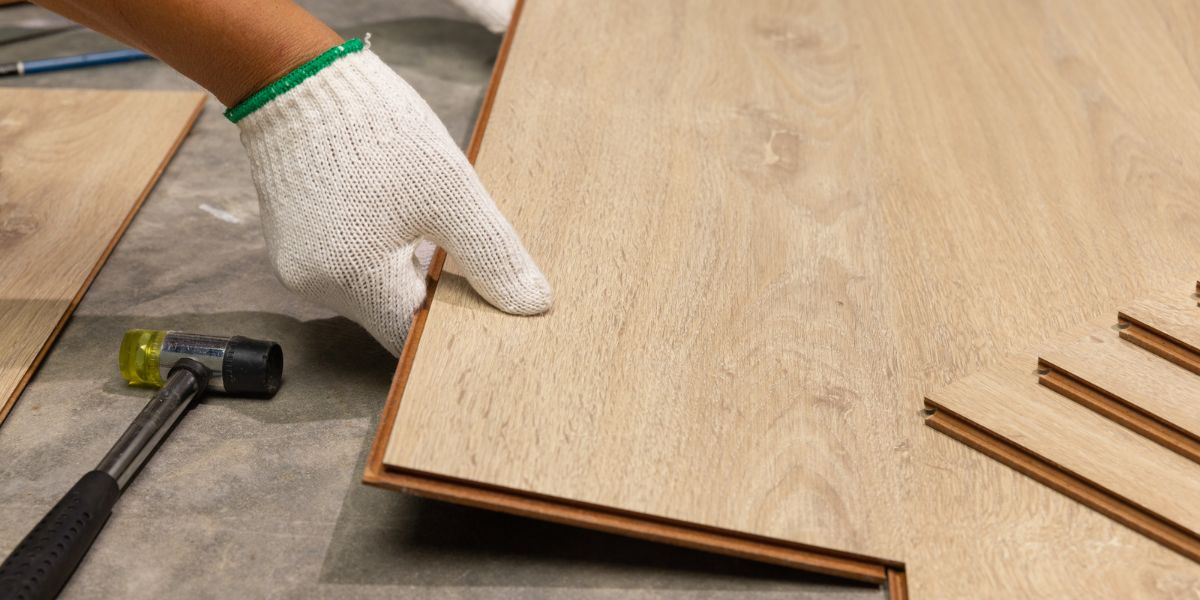
Staggering Techniques
Staggering vinyl plank flooring is not only important for the structural stability of your floors, but it can also make a huge impact on the overall appearance of your home. There are several techniques to consider when staggering vinyl planks, each with its own unique benefits. In this section, I’ll walk you through the three most popular techniques: random staggering, brick pattern staggering, and diagonal staggering.
Random Staggering: For a Natural Look
If you’re looking for a natural and organic feel in your space, random staggering is definitely the way to go. This technique involves laying planks at different lengths and positions throughout the floor, mimicking how real wood would grow in nature.
To achieve this look, start by laying out multiple planks at once and choosing which ones will go where. The benefits of random staggering are undeniable.
It creates an authentic appearance that will have visitors wondering if your flooring is actually made of real wood. Plus, it’s incredibly forgiving – if you accidentally cut a piece too short or long, just incorporate it into another section using this technique.
Brick Pattern Staggering: For a Classic Look
If you’re looking for an elegant and classic look with your vinyl plank flooring installation, brick pattern staggering is perfect for you. This method involves placing one row of full-length planks next to one row of half-length planks in an alternating fashion.
The benefits of brick pattern staggering are clear – it adds architectural interest to any space while still providing a clean and cohesive appearance. It’s easy to follow and ensures that seams won’t be noticeable from row to row.
Diagonal Staggering: For a Unique Look
If you’re feeling adventurous and want to really make a statement with your flooring, diagonal staggering is the way to go. By laying the planks at a 45-degree angle, this technique creates an unexpected and eye-catching effect that will have everyone talking. The benefits of diagonal staggering are endless.
It can make small spaces appear larger, it can add visual interest to any room, and it’s surprisingly easy to install once you get the hang of it. It does require some extra planning and math, but with a bit of patience and practice, you’ll be left with an unforgettable floor.
No matter which technique you choose for staggered vinyl plank flooring installation, one thing is clear – it takes time and patience to achieve professional results. Take your time during installation and follow these techniques meticulously for a flawless finish.
Tips and Tricks for Seamless Installation
Use Spacers Between Each Plank to Ensure Even Spacing
One of the most crucial tips for ensuring a seamless installation of vinyl plank flooring is spacing. Many DIY enthusiasts make the mistake of omitting spacers during installation, which results in uneven spacing and unsightly gaps.
While it may seem tedious to use spacers, they will prove to be your best friend in creating a professional-looking finish. When installing vinyl plank flooring, it’s important to remember that the planks will expand and contract with temperature changes.
Proper spacing allows room for this movement without causing buckling or other issues. The recommended spacing between planks is typically 1/8 inch but check with your manufacturer’s instructions as it may vary.
Cut Planks at Different Lengths to Avoid Creating Noticeable Patterns or Repeating Seams
One of the most significant downsides of vinyl plank flooring is that it can appear repetitive if not installed correctly. This problem often arises when installers cut all planks at once, leading to repeated seams throughout the floor. However, you can easily avoid this issue by cutting planks at different lengths.
Cutting each plank at a different length creates an attractive and unique pattern that breaks up visual monotony. If you have trouble cutting straight lines or simply prefer not to do so yourself, consider hiring a professional installer who has experience working with vinyl plank flooring.
RELATED: Reviving Swollen Laminate Flooring: A Guide to Repair Without Replacement
Mix and Match Different Plank Colors or Styles for Added Visual Interest
If you truly want your vinyl plank flooring installation to stand out from the rest, consider mixing and matching different colors or styles of planks. For instance, you could alternate between light and dark wood tones throughout the space or use two complementary colors in adjacent rooms.
This technique adds visual interest while still maintaining a cohesive overall look. Keep in mind that not all vinyl plank flooring styles will complement each other, so take the time to experiment with different options before committing to a specific pattern.
Additionally, try not to go too crazy with mixing and matching, as it may become overwhelming or clash with other design elements in the room. As with any design decision, moderation is key.
Frequently Asked Questions
How should I stagger vinyl plank flooring?
When installing vinyl plank flooring, it is recommended to stagger the planks by starting each new row with a partial plank, ensuring that the end joints are offset by at least 6 inches from the previous row.
What is the best pattern for vinyl plank flooring?
The best pattern for vinyl plank flooring is typically a random or natural-looking pattern that avoids repetitive or noticeable patterns, creating a more authentic and visually appealing result.
Do you stagger seams on vinyl plank flooring?
Yes, it is important to stagger seams on vinyl plank flooring to enhance the overall strength and stability of the installation while also minimizing the visibility of the seams.
Does vinyl flooring need to be staggered?
Yes, vinyl flooring should be staggered during installation to prevent the formation of long, continuous seams and to distribute the weight and stress more evenly across the floor surface.
How should the flooring be staggered?
Flooring, including vinyl plank, should be staggered by starting each row with a different length plank, ensuring that the end joints do not align vertically from one row to the next, which helps maintain the structural integrity and aesthetic appeal of the installation.
What is the minimum spacing for vinyl plank flooring?
The minimum spacing for vinyl plank flooring typically depends on the manufacturer’s recommendations and the specific product being used. It is generally advisable to follow the manufacturer’s guidelines to ensure proper installation, including any specified minimum spacing requirements for expansion and contraction of the flooring material.
Conclusion
After reading this article, you should now have a better understanding of how to stagger vinyl plank flooring. The importance of this technique cannot be overstated; a properly staggered floor will not only look better but will also be more durable and longer-lasting. Ultimately, the goal of staggering is to create a seamless, professional finish that adds value and appeal to your home.
By following the tips and techniques outlined in this article, you can achieve just that. Remember to measure carefully, acclimate your planks, and use appropriate staggering patterns.
Don’t forget to mix up your plank lengths and colors for added visual interest. And most importantly – take your time!
Rushing through the installation process can lead to mistakes and unsightly seams. Installing vinyl plank flooring is a great way to update your home’s interior with minimal effort.
By keeping these tips in mind and taking things step by step, you’ll be able to create a beautiful finished product that you can enjoy for years to come. Good luck!