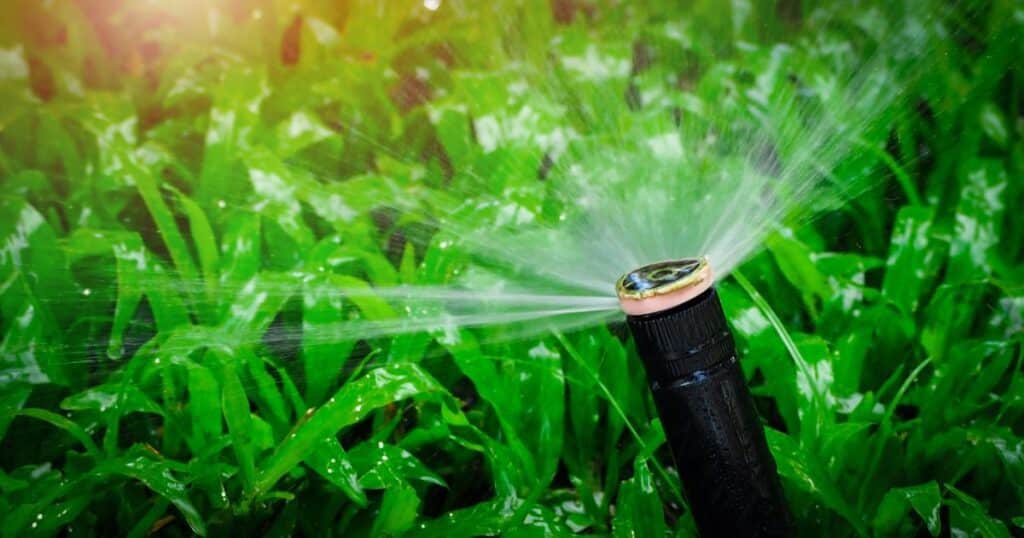
Are your plants feeling a little neglected? Well, it’s time to spruce up your sprinkler game! In this guide, we’ll show you how to move a sprinkler head, giving your greenery the attention it deserves. So, get ready to shake things up and discover the secrets to easily relocating those watering warriors. Get ready for a water dance extravaganza!
To move a sprinkler head, start by turning off the water supply to the system. Dig around the existing sprinkler head, carefully disconnect it from the pipe, and remove it. Install a new riser and attach the sprinkler head to the desired location, making sure it is secure. Finally, test the system by turning on the water supply to ensure proper functioning. Voila! Your sprinkler head has been gracefully relocated to its new watering stage.
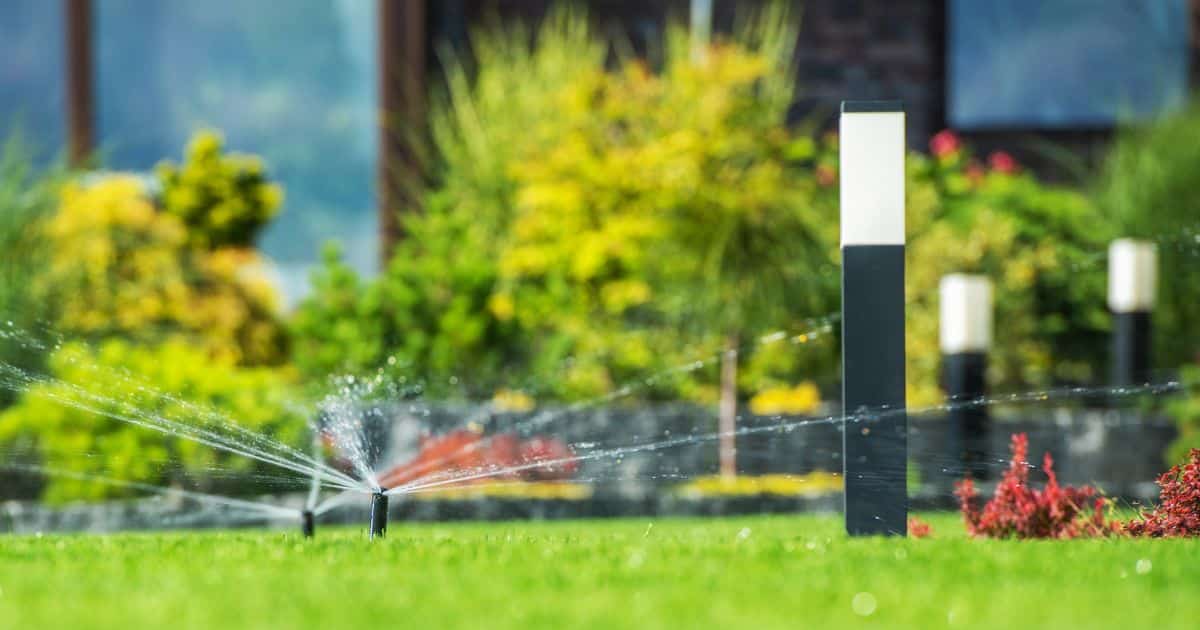
How To Move A Sprinkler Head
Many homeowners and garden enthusiasts install sprinkler systems to keep their lawns and garden green and healthy. However, it’s not uncommon for changes to be made to the landscape, necessitating the need for moving a sprinkler head. Relocating a sprinkler head can be a daunting task, but with the right tools and preparation, it can be done efficiently with minimal disruption to your yard.
Why Move a Sprinkler Head?
There are several reasons why you might need to move your sprinkler heads. One common reason is that you have made changes to your landscaping or added new features, such as flowerbeds or trees, that require adjustments in watering patterns.
Another reason could be that construction has taken place on your property, requiring a shift in where water is being directed. Another potential reason for moving sprinkler heads is if they are not providing adequate coverage for certain areas of your lawn or garden.
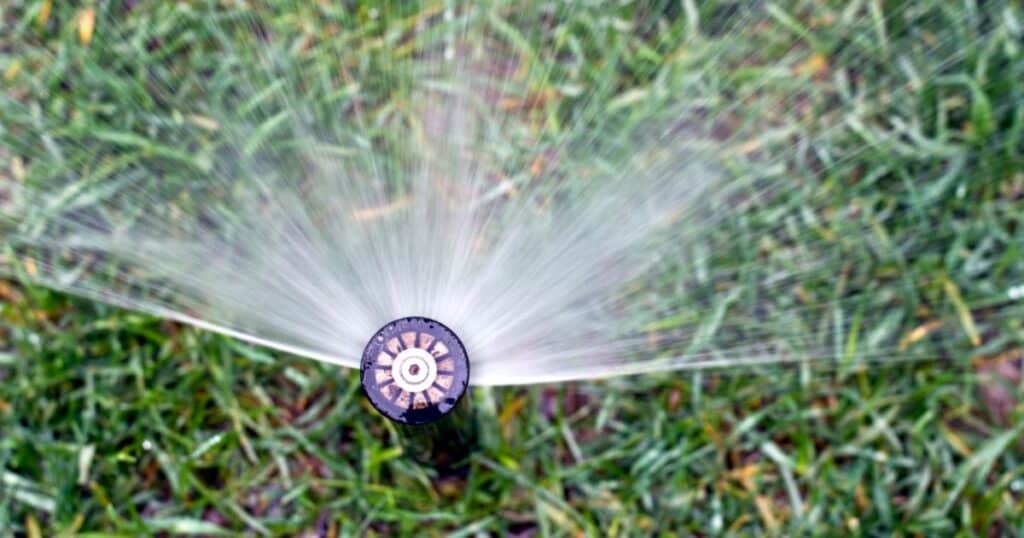
Poorly placed sprinklers or damaged heads may result in uneven watering distribution, which can lead to dry patches or oversaturation in other areas. By relocating the heads, you can achieve better coverage and save water by avoiding wasted runoff.
Preparation Is Key
Before starting any project involving plumbing modifications like moving a sprinkler head, it’s important to turn off the water supply and depressurize the system. Failing to do so could result in injuries from spraying water or damage to components within the system itself.
The next step is assessing where the new location of the head will be relative to its current position. Consider things like distance from other heads, proximity to obstacles such as fencing or sidewalks, and whether there are any underground utilities such as gas lines or electrical wiring that might interfere with digging.
Once you have assessed these factors, it’s time to gather the necessary materials. You will need a shovel, pipe cutter, PVC piping, PVC glue, and potentially other tools depending on the complexity of the system and intended modifications.
Digging Around the Sprinkler Head
The first step in moving a sprinkler head is digging around it. Use a shovel to carefully remove soil and any grass around the head without damaging any plants or landscaping features. The goal is to expose enough of the existing piping so that you can remove and replace it with new pipe as needed.
It’s important not to rush this step or try to force out the sprinkler by digging too deeply or aggressively. Doing so could cause damage to the underground system that may be difficult or expensive to repair.
Once you have exposed enough piping around the existing head, use a pipe cutter to carefully cut away any old PVC piping connecting it to other parts of the system. Be sure not to damage any adjacent components or wiring during this process.
Measuring and Cutting New Pipe
After removing old pieces of PVC pipe from around your sprinkler head, you’ll need to measure and cut new pieces of pipe that will connect your existing irrigation system with its new location. It’s important that these cuts are precise so that new connections fit properly without leaks.
Use a tape measure or ruler for accurate measurements, and mark where you need to make cuts with a marker or pencil before cutting with your pipe cutter. Always double-check measurements before making cuts; measuring twice will save you time in having to re-cut if there are mistakes.
Attaching New Pipe
Once all necessary adjustments have been made and new pipes have been cut as needed, it’s time for assembly using PVC glue. Apply glue liberally at both joints before connecting them together firmly but gently – do not over-tighten, as this can cause damage over time.
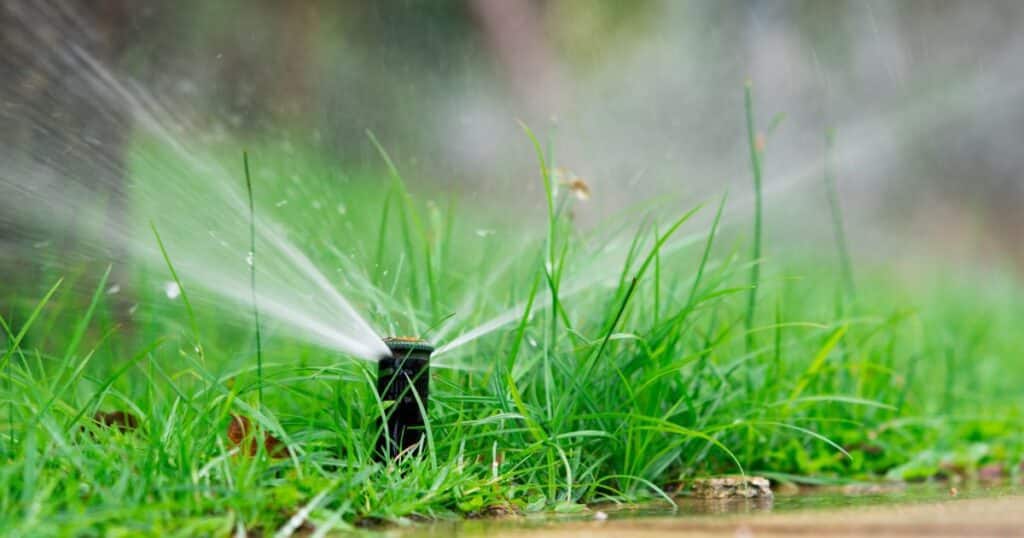
Overall, moving a sprinkler head can be a challenging task, but with the right tools and preparation, it’s one that can be accomplished with minimal disruption to your yard. By following these steps carefully and methodically, you can achieve better coverage and more efficient watering patterns while avoiding costly repairs or damage down the road.
Assessing the Situation
Determine the current location of the sprinkler head and where it needs to be moved to
Before beginning any work, it is important to assess the situation and determine the current location of your sprinkler head. This will help you plan out how you will move it and ensure that it is done properly.
Begin by locating your existing sprinkler head and marking its exact position using a marker or flag. Next, determine where you want to move the sprinkler head.
This may be due to changes in landscaping or construction or simply because its current location is not providing adequate coverage. Measure the distance between the existing sprinkler head and where you want to move it so that you can purchase enough PVC pipe for your project.
RELATED: How To Fix A Sprinkler Head That Won’t Rotate 2023
Check for any potential obstacles or underground utilities that may interfere with moving the sprinkler head
Before digging around your existing sprinkler head, take a few minutes to check for potential obstacles or underground utilities that may interfere with moving it. Start by checking local utility maps or calling 811 in order to locate any underground pipes, cables, or other utilities that may be in your yard.
Once you have located any underground utilities, mark them clearly with a flag or spray paint so that they are visible while digging. If there are any trees, large rocks, or other landscaping features near your existing sprinkler head that may make moving difficult, consider removing them before beginning work.
It is also important to check for any sources of power nearby (such as electrical outlets), as well as nearby buildings or structures that could obstruct movement during excavation. All of these factors should be taken into consideration when planning where and how to relocate your sprinkler head.
In addition to checking for potential obstacles and utilities prior to moving a sprinkler head, always make sure that there is enough space around both the old and new locations to work comfortably. This will ensure that you can safely dig, measure, cut, and attach PVC pipes without causing damage or injury.
Make sure to check your local building codes and regulations for any requirements about the distance between sprinkler heads and other structures on your property. Adhering to these requirements will ensure your safety and compliance with local laws.
Gathering Materials
Moving a sprinkler head requires specific tools and materials to be successful. Here are the essential materials you will need:
Shovel
A shovel is necessary for digging around the existing sprinkler head and creating space for the new piping. Choose a sturdy shovel with a sharp edge to make digging easier. Be careful not to damage any plants or landscaping in the area.
Pipe Cutter
A pipe cutter is essential for removing old piping from the sprinkler head. You can cut through PVC piping easily and accurately with this tool, which makes it more efficient than using a saw or other cutting method.
PVC Piping
You will need new PVC piping to connect your existing irrigation system to the new location of your sprinkler head. Measure carefully to ensure that you have enough piping for your project, and get an extra foot or so in case you need it.
PVC Glue
PVC glue is necessary for securing new PVC piping onto your existing irrigation system. This type of glue creates a strong bond that locks the pieces together and helps prevent leaks over time.
Teflon Tape
Teflon tape can be used as an extra layer of protection against leaks when connecting pipes together. Wrap it around threaded fittings before screwing them together to create a tight seal that won’t leak water.
With these materials, you should have everything needed to move your sprinkler head successfully. When choosing supplies, remember that quality matters – choose tools that are sturdy and durable so they can be used again in future projects.
Shutting Off the Water Supply
Why It’s Important to Shut Off the Water Supply
Before you start moving a sprinkler head, it’s crucial to turn off the water supply. If you don’t shut off the water supply, water will continue to flow through the irrigation system and could cause damage to your property or create a safety hazard. Additionally, shutting off the water supply will prevent any accidents that could occur during the process of moving the sprinkler head.
Locating Your Water Shut-Off Valve
The first step in shutting off your water supply is finding the shut-off valve. The location of this valve varies depending on your home’s setup, but typically it can be found near where your main water service line enters your home. It may also be located near your hot water heater or in an outdoor utility box.
Once you’ve located the valve, turn it clockwise until it stops. This will shut off all water flowing to your irrigation system and prevent any potential damage or accidents from occurring while you’re working on moving a sprinkler head.
Other Precautions to Take Before Moving a Sprinkler Head
In addition to turning off the water supply, there are a few other precautions you should take before moving a sprinkler head:
- Wear protective gear such as gloves and safety glasses
- Mark any underground utilities or obstacles around the area where you’ll be working
- Be mindful of any plants or landscaping that may need temporary protection during excavation
- Have all necessary tools and materials nearby for easy access
Taking these extra steps will help ensure that moving your sprinkler head is done safely and efficiently without causing any damage or injury.
Turning On Your Water Supply After Moving a Sprinkler Head
Once you’ve finished moving your sprinkler head and have made sure that all connections are secure, it’s time to turn your water supply back on. Slowly turn the shut-off valve counterclockwise to restore water flow to your irrigation system.
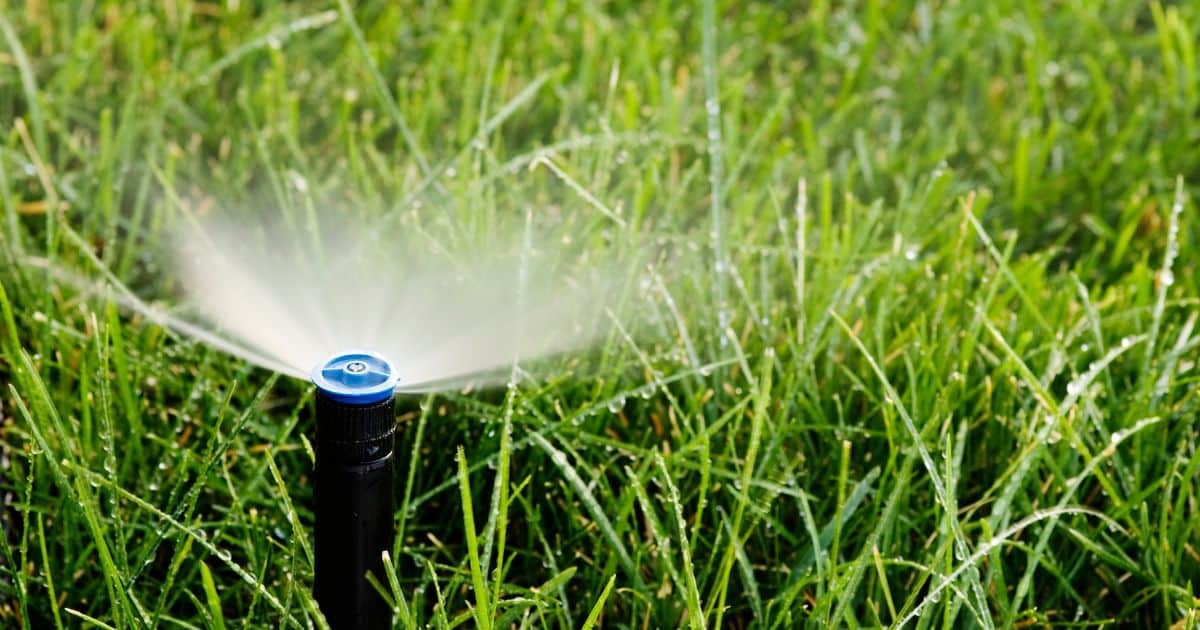
It’s important to check for leaks or other issues before you finish the job and completely close the access panel. Turn on the sprinkler system and observe each of your sprinkler heads.
Make sure they’re spraying in the right direction and that there aren’t any leaks around any of the connections. If everything looks good, you can finish up by filling in any holes you dug during the process and returning any landscaping or plants back to their original position.
Digging Around Sprinkler Head
The Importance of Digging Carefully
When it comes to moving a sprinkler head, digging around the existing head is an essential step. However, it is crucial to exercise caution during this process.
Without careful digging, you could damage your irrigation system or the surrounding plants and landscaping. One way to ensure that you are digging carefully is by using a shovel that is appropriate for the job.
A small hand trowel may work for very small sprinkler heads, but for larger ones, a spade shovel may be necessary. Additionally, you should be sure to use a sharp shovel so that you can make clean cuts through any roots or other obstacles.
Measuring and Marking
Before you begin digging around the sprinkler head, it’s important to take some measurements and mark out your work area. This will help ensure that you dig in the correct spot and avoid any unnecessary damage. First, measure the distance from the existing sprinkler head to where it needs to be moved.
Then use spray paint or flags to mark both of these spots on the ground. You can also use these markings as a guide when digging around the old sprinkler head.
Digging Technique
When digging around a sprinkler head, it’s best to start with a circular cut around the outside edge of where you marked with paint or flags earlier. You should dig down slowly and carefully so as not to damage any pipes or roots in the process. As you remove dirt from around the old sprinkler head, make sure that it stays intact and doesn’t fall into any holes or trenches near your irrigation system’s piping.
Once enough earth has been removed from under and around one side of your existing irrigation pipe connected at one end with this particular sprinkler head location then lift up this side and hold it vertically while digging the other side of the irrigation pipe connected to this sprinkler head. This way, you can easily lift out the old sprinkler head without causing any damage.
Protecting Surrounding Plants
When digging around a sprinkler head, it’s important to take extra care not to damage any surrounding plants or landscaping. To protect plant roots, you can dig by hand with a small shovel or even use a garden knife or similar tool.
Be sure to avoid cutting too deeply into the soil and stay away from any roots that may be visible in the area. If necessary, you can also use cardboard or a tarp to cover up any plants and keep them safe during the process.
Clean-Up
Once you have successfully dug around your existing sprinkler head and removed it, be sure to clean up your work area thoroughly. Remove any excess dirt and debris from around the new location of your sprinkler head before installing your new PVC piping.
Additionally, if there were any plants that had to be moved during the process, make sure they were replanted properly in their new location and watered well. Proper clean-up ensures that your yard looks great after moving your sprinkler head!
Removing Old Pipe
Use a pipe cutter to cut away the old PVC piping
Now that you have dug around the irrigation line and sprinkler head, you can begin removing the old pipe. Use a pipe cutter to cut away the section of PVC piping that connects to the sprinkler head.
Be careful not to damage the sprinkler head or any surrounding plants or landscaping. If necessary, you can use a hacksaw to remove any remaining pieces of pipe from the sprinkler head.
However, make sure you do not damage any parts of the sprinkler head in this process. It is important that all remnants of the old piping are removed before proceeding with attaching new piping.
RELATED: How To Locate A Sprinkler Valve: Best Guide In 2023
Remove any remaining pieces of pipe from the sprinkler head
The next step is to remove any remaining pieces of PVC piping from the sprinkler head itself. This may require some extra effort and patience, but it is important for ensuring a proper connection with new piping. You can use pliers or other relevant tools for this task, being careful not to damage any components of the irrigation system.
If there are several layers of PVC pipes connected to each other in your system, it may be necessary to cut through multiple sections before completing this step. Make sure you only cut through what is necessary and leave all other components intact.
Maintaining Proper Pipe Lengths
The length of your new pipes should correspond exactly with where your new sprinkler location will be situated relative to your current irrigation line. This means that if your newly desired location is farther away than where it used to be located, then make sure you add additional length when cutting out new pipes so they fit correctly. Also, be mindful of the type of pipe you are using and its diameter, as these will also affect the overall length and placement of new pipes.
If necessary, mark out where each new pipe will sit in relation to the irrigation system before making any cuts. This will help you to avoid mistakes or misalignments in your final installation.
Ensuring Proper Fit
The final step is to ensure that your newly cut PVC piping fits correctly and securely with the existing irrigation line and sprinkler head. Take your time to align all parts correctly before proceeding with any gluing or attaching.
You may need to use a tool such as a coupler or elbow fitting if there are any angles or turns that need to be factored in. Once everything is aligned correctly, apply PVC glue at each connection point and allow it sufficient time to dry according to the manufacturer’s instructions.
Clean Up
Once the glue has dried fully, turn your water supply back on and test out your new sprinkler head location for proper function. If everything is working as it should, then carefully fill in any holes you have dug with soil and tamp down firmly so there are no air pockets or gaps left behind. Clean up all tools used during this project and dispose of any excess materials responsibly.
Make sure you check carefully for leaks after turning on the water supply once again before concluding this project entirely. With a little bit of patience and attention to detail, moving a sprinkler head can be accomplished successfully without causing damage to your existing irrigation system!
Measuring and Cutting New Pipe
The Importance of Measuring Accurately
Before you begin cutting your new PVC pipe, it’s important to measure the distance between the existing irrigation system and the new location of the sprinkler head. If you don’t measure accurately, you may end up with a piece of piping that is too long or too short, which can lead to leaks or other problems down the line. Use a measuring tape to get an accurate measurement of the distance from point A to point B.
Cutting PVC Piping
Now that you have an accurate measurement, it’s time to cut your new piece of PVC piping. You’ll need a saw specifically designed for cutting PVC piping.
There are two types: a handsaw and an electric saw. If using an electric saw be sure that it is designed for cutting plastic pipes, and always wear safety goggles while using any kind of saw.
When using a handsaw technique is important; cut slowly and carefully to make sure your cuts are straight and even. Be especially careful if you’re cutting curved pieces as these may require more care when handling.
Deburring Your Cuts
Once you’ve made your cuts, use sandpaper or a file around the ends of each cut piece of pipe to remove any rough edges. These rough edges can cause friction against other pieces when they’re installed together, potentially causing leaks in the future.
Preparing Joints for Gluing
After deburring your cuts, wipe away any debris from around each end with a clean cloth or rag. This will ensure that there are no particles present that could interfere with proper adhesion when gluing joints later on.
Test Fitting Pieces Together
Before applying glue between joints, always test fit them first without glue by sliding each piece into place to make sure everything fits snugly. This gives you an opportunity to make any minor adjustments before proceeding with the glue. Overall, measuring and cutting new PVC piping may seem intimidating at first, but with the right tools and careful attention to detail, it’s not difficult to accomplish.
Be sure to take your time, double-check your measurements before making any cuts and use caution when handling saws. Follow all safety guidelines for working with PVC piping, and you’ll have your new pipe ready in no time.
Attaching New Pipe
Apply PVC Glue to Both Ends
Now that you have your new PVC piping cut to the correct length, it’s time to attach it to the existing irrigation system and the sprinkler head. Apply PVC glue to both ends of the new pipe as well as the existing pipes where they will connect. Be sure to use a generous amount of glue as this will ensure a strong and secure connection.
Next, slide one end of the new pipe into the fitting attached to the existing irrigation system. Make sure it is securely in place before moving on to the next step.
Then, slide the other end of the new pipe into a slip-on fitting attached to your sprinkler head. Again, make sure it is securely in place and snug against both ends.
Clean Up Excess Glue
After attaching all necessary connections with PVC glue, wipe away any excess glue that may be on or around your new piping and old systems. It’s important not to leave any residue as it can block or damage your sprinkler head’s water flow or irrigation system. Once everything is cleaned up and dried off, turn your water supply back on slowly using a valve so that you can control any leaking in case something goes wrong during installation.
Frequently Asked Questions
How do you move a sprinkler head forward?
To move a sprinkler head forward, twist the head counterclockwise to loosen it, then pull it gently in the desired direction and tighten it by rotating it clockwise.
How can I adjust a sprinkler head?
To adjust a sprinkler head, locate the adjustment screw on the top or side of the head and turn it clockwise to decrease the spray distance or counterclockwise to increase it. Some sprinkler heads may also have additional adjustment features like pattern control.
How do you manually lift a sprinkler head?
To manually lift a sprinkler head, grasp the head firmly with your hand and lift it upward while applying gentle pressure. Be careful not to apply excessive force or pull too hard to avoid damaging the sprinkler or its connection.
How to position sprinkler heads?
To position sprinkler heads, consider the coverage area and spacing requirements. Place the heads strategically to ensure even water distribution and overlapping spray patterns for efficient irrigation.
How do you adjust a sprinkler head from left to right?
To adjust a sprinkler head left to right, locate the rotation adjustment screw on the top or side of the head and turn it clockwise to decrease the rotation angle or counterclockwise to increase it. This allows you to control the direction of the spray pattern.
How do farmers move their sprinklers?
Farmers often move their sprinklers by using irrigation equipment such as wheel lines, center pivots, or traveling sprinklers that can be mechanically driven across the field to provide water to different areas. These systems are designed for efficient and uniform water distribution in large agricultural fields.
Conclusion
Moving a sprinkler head may seem like a daunting task at first but with careful planning, preparation, and attention throughout each step of this process, you will be able to relocate your watering system safely without damaging any surrounding plants or landscaping. Remember that proper planning and preparation are critical for success when moving a sprinkler head.
Before you start digging around an existing sprinkler head, take time to assess potential obstacles, such as underground utilities or rocks that might interfere with relocating it. Have all necessary tools at hand, including shovels for excavation work, along with pipe-cutting tools like PVC cutters.
By following the steps outlined in this article, you can safely and effectively move your sprinkler head while ensuring it is securely attached to the existing irrigation system for optimal performance. With practice and patience, this process can become easier over time.