What Are Nail Pops?
If you own a home, chances are you have dealt with nail pops at some point. If you haven’t, consider yourself lucky! A nail pop is when a nail head protrudes from the surface of your wall, causing a bump or even a small hole.
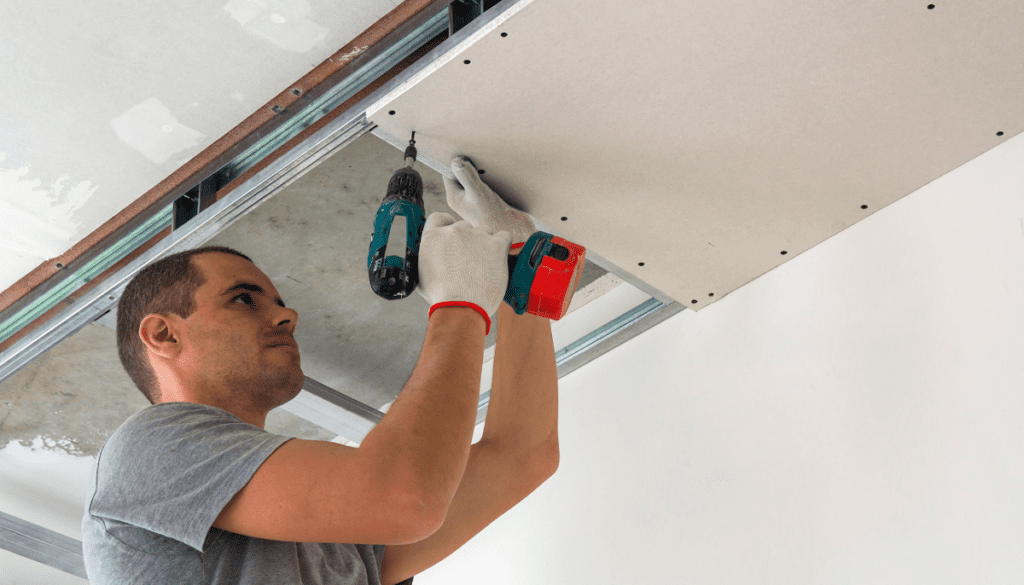
Common causes of nail pops in drywall include improper installation or movement in the studs due to temperature or humidity changes. This is often caused by the use of nails instead of screws during drywall installation, which makes nails more prone to loosening over time.
Nail pops may seem like minor cosmetic issues, but they can be indicative of larger wall stability issues which can lead to cracked drywall and other problems over time. Not only do they look unsightly, but also, if left untreated, they can weaken the structural integrity of your walls over time.
Learn how to repair nail pops in drywall with this easy DIY guide. Save time and money by following our step-by-step instructions.
The Importance of Repairing Nail Pops
Now that we know what nail pops are, let’s talk about why we should care about them enough to fix them. If you leave a nail pop untreated for too long, it can cause more serious damage down the line and could even become a safety hazard if it weakens the wall structure enough that it collapses. Fixing popped nails in walls doesn’t just maintain an aesthetically pleasing environment around your home, but it also ensures that your walls remain safe and secure for years to come.
DIY nail pop repair in drywall is not only easy but also affordable compared to hiring professionals for minor repairs like this. With some basic knowledge of how to patch nail pops in drywall and refinishing techniques for fixing popped nails on your own, you can save yourself money on professional services while still ensuring high-quality results.
Taking care of these tiny bumps and holes can go a long way in maintaining the beauty and stability of your home, so don’t let these minor issues turn into major ones. It is essential to know how to repair nail pops in drywall and be proactive about preventing them from happening again before they cause any further damage.
Assessing the Damage
How to Identify Nail Pops on Different Types of Drywall Surfaces
If you own a house or an apartment, it’s inevitable that you will need to learn how to repair nail pops in drywall. Before you can begin DIY nail pop repair in drywall, however, you need to know what you’re dealing with.
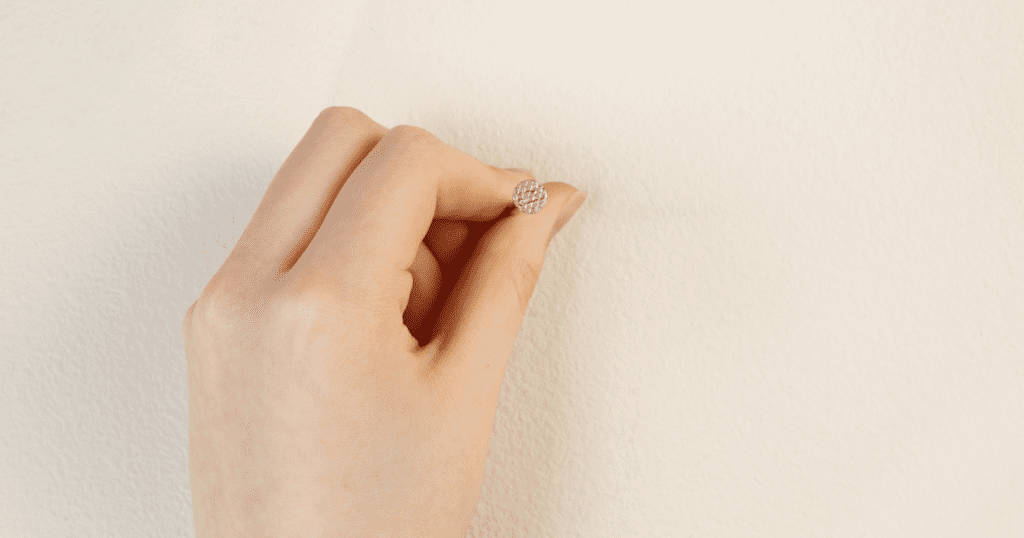
Nailhead protrusion is a common issue that homeowners face when they notice bumps on their walls. There could be several reasons for bumps on your wall, but if it is caused by a nail or screw popping out from underneath the surface of the drywall, this is called a “nail pop.”
There are different types of drywall surfaces, and each type has its unique challenges when it comes to identifying nail pops. Most often than not, you can identify them visually by looking for small circular protrusions on the surface of the wall.
But what about textured walls? If your walls are textured or painted with patterns like stipple variations or swirls – fixing nail pops in these areas can be an even bigger headache if not identified correctly.
How to Determine Whether a Nail Pop is Cosmetic or Structural in Nature
Once you have identified the location of where to repair nail pops in drywall, It’s important that we determine whether it’s cosmetic or structural damage.
- Cosmetic damage doesn’t affect wall stability issues and usually happens because of natural settling or simple wear and tear over time.
- Structural damage usually occurs when there is some serious underlying issue, such as water infiltration damaging the framing behind your drywall.
To troubleshoot whether your popped nails are cosmetic or structural: tap firmly around each bump with a hammer handle; if it sounds hollow, then there are no issues with frame work underneath those area’s requiring attention from professionals for stability repairs.
It’s important to learn this differentiation between cosmetic damage and structural damage as it will help determine the course of action that you take in order to repair nail pops in drywall. Cosmetic repairs are often easy to achieve with basic wall repair solutions, but structural damage requires more effort and professional expertise.
Learn the Tools for Repairing Nail Pops
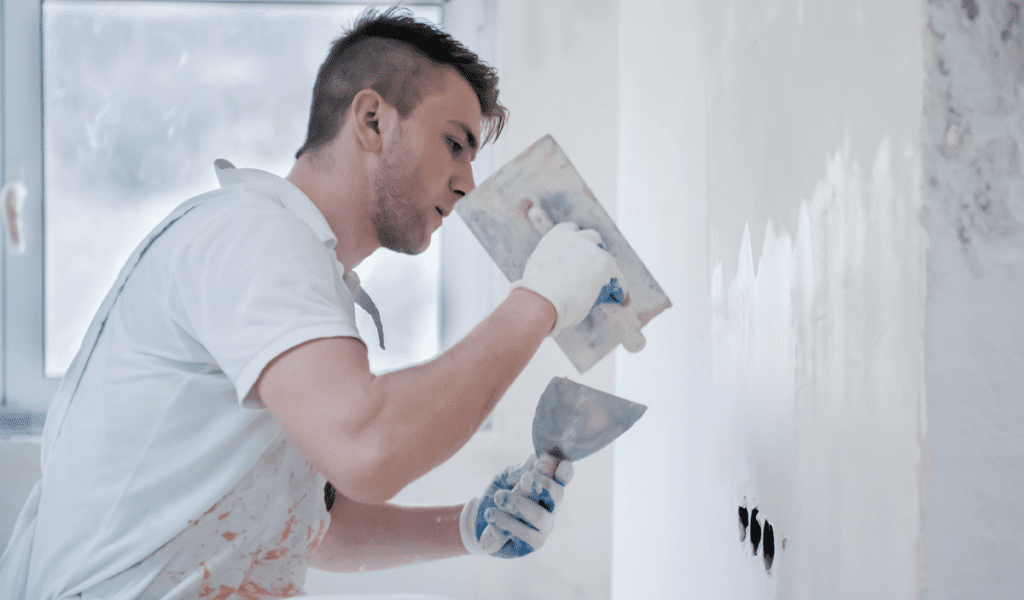
Before you can begin repairing popped nails in walls, it’s important to gather all the necessary tools and materials. Basic tools that are required include a hammer or screwdriver, sandpaper, spackle or joint compound, and paintbrushes. If you need more advanced tools, then a drill or screw gun may also be required.
It’s important to choose the right size screw or nail when repairing a popped nail to avoid nail pop reoccurrence prevention issues after the initial repair is done. A larger screw or nail can cause cracks on the surface, making it worse than it was before.
When working with power tools, make sure you familiarize yourself with all safety requirements beforehand, such as wearing goggles and gloves for protection from dust particles while sanding down excess joint compound until flush with the surrounding drywall surface. By having all the necessary tools at hand – DIY nail pop repair in drywall will be a breeze!
Preparing for Repair
List of Tools and Materials Needed
Before diving into fixing the popped nails, you must prepare yourself with the appropriate tools and materials. You’ll need a few essential hand tools, such as a putty knife, a utility knife, a hammer, a drill or screw gun, and sandpaper.
You will also need joint compound or spackle, drywall tape (for structural nail pops), and an extra supply of screws in case you need to replace any. Don’t forget about your safety!
Protect your eyes with goggles, and cover your hands with gloves to keep them clean during this messy job. As for clothing, wear something that you don’t mind getting dirty; repairing nail pops can be quite messy.
Prepare the Work Area
Before beginning any work on the wall surface where the popped nail is located, it’s crucial to prepare the work area properly. Begin by clearing away any debris or dust from around the area where you will be working.
Covering nearby furniture or flooring with plastic sheets is also recommended to prevent damage from falling debris. Another important step before patching nail pops in drywall is to ensure that all nails surrounding the affected area are secure.
If there are any loose nails or screws visible (or even those that aren’t), they should be tightened as much as possible before proceeding further. Once everything is in order and well-prepared, you’re ready to begin repairing your wall!
Repair Techniques
Basic Nail Pop Repair
Let’s get one thing straight: repairing nail pops in drywall shouldn’t require a specialist. Anyone can do it!
Basic nail pop repair requires a simple solution: a hammer or screwdriver. Begin by pushing the popped nail back into the hole using either tool.
Once the nail is secured tightly against the drywall, cover the hole with a spackle or joint compound. The key to a seamless fix is to make sure that you’re not adding too much spackle or joint compound. A lot of people make this mistake by adding too much and expecting it to dry and blend in with the existing wall surface. This idea simply doesn’t work – as it will leave your wall looking like it has lumps all over it.
To achieve an aesthetically pleasing result, aim for at least two thin coats of spackle or joint compound applied after each coat dries completely, sanding lightly between each coat. This approach will ensure that your walls are restored to their original glory and look brand new!
Advanced Nail Pop Repair
If you want to take basic nail pop repair skills one step further, keep reading! Advanced repair techniques involve making use of a drill or screw gun instead of just pushing back the old nail. To start, identify where exactly your nails have popped out from.
Using screws that are slightly longer than existing nails or screws will help secure loose nails in drywall quickly and securely without causing further damage. Next, drill a hole next to your popped-out nails (make sure they’re secured against any studs in your wall.) Insert new screws into these holes, ensuring they’re securely fastened into place.
Last but not least, cover both holes with the joint compound- apply two thin coats, sanding lightly between each coat. This will ensure that your walls look good as new, and any cracks caused by nail pops will be fixed.
Tips for a Seamless Nail Pop Fix
If you’re hoping for a perfect nail pop repair, some additional tips will come in handy. For instance, securing the popped nails with screws is always more effective than hammering them back; screws can hold drywall better because of their larger heads compared to nails. Additionally, make sure to apply spackle or joint compound thinly and evenly around the hole and not too much or too little.
Applying too much spackle or joint compound will create an uneven surface, making it more difficult to sand down afterwards. Most importantly, keep in mind that repairing popped nails in walls is just one part of maintaining your home’s interior.
Regular drywall maintenance tips include checking for cracks and holes on a regular basis to prevent larger problems from developing over time. Nail pop reoccurrence prevention is key!
Finishing Touches
Sanding and Painting
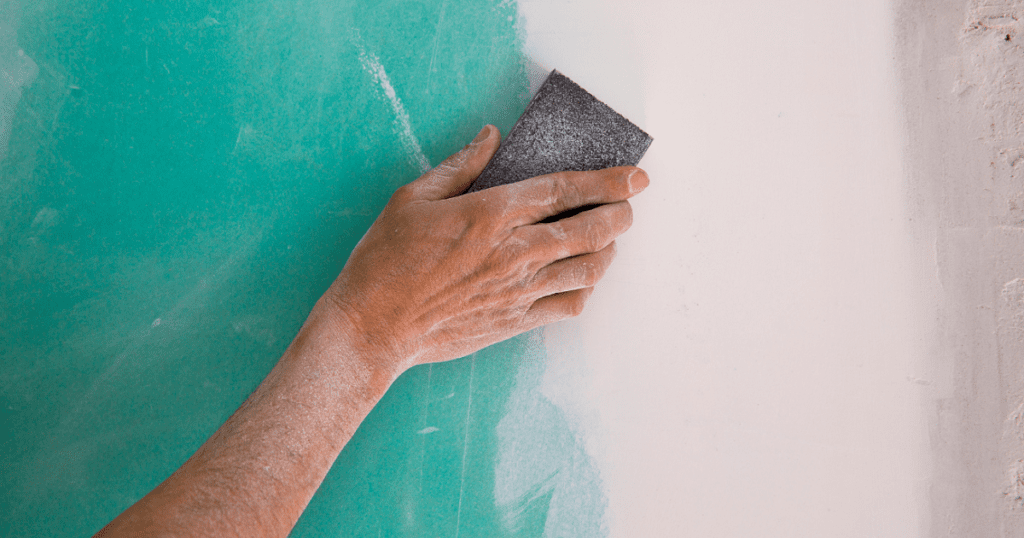
After using spackle or joint compound to fill the popped nail hole, it’s important to sand down excess compound until it is flush with the surrounding drywall surface. This is a crucial step that cannot be skipped if you want the repair to blend in seamlessly with the rest of the wall.
Rushing could result in an uneven surface, which will make it more difficult to paint over later. Once you’ve sanded everything down, it’s time to paint.
If you don’t already have paint that matches your wall color, go ahead and purchase some now. This will save you a trip later on when you’re trying to touch up your repair job. For best results, apply at least two coats of paint over the repaired area. Be sure to allow sufficient drying time between coats.
Preventative Measures
While repairing nail pops can be relatively simple, no one wants to deal with them repeatedly popping up year after year. So how can homeowners prevent these pesky issues? One of the biggest culprits behind nail pops is heavy objects hanging from walls – things like large mirrors or heavy artwork can cause nails to loosen and pop out over time.
To prevent future nail pops in drywall installations, try using longer screws during installation instead of nails. Long screws provide more stability than nails and are less likely to pop out over time.
Additionally, before hanging anything heavy on walls, ensure that they are properly anchored into studs or other structural supports within the wall itself. By taking these preventative measures now rather than waiting for another set of nail pops down the road, homeowners can enjoy a more secure and stable wall installation overall.
Frequently Asked Questions
How do you fix drywall nail pops?
To fix drywall nail pops, you’ll need to use a hammer or screwdriver to drive the nail back into the stud or joist, apply a layer of joint compound over the popped nail, feather out the edges, let it dry, sand it smooth, and then prime and paint the repaired area.
How do you fix drywall screw pops?
To fix drywall screw pops, you’ll need to remove the screw, drive a new screw adjacent to the popped one, apply joint compound over the screw and the popped area, feather out the edges, let it dry, sand it smooth, and then prime and paint the repaired section.
What causes drywall nail pops?
Drywall nail pops can be caused by a few factors, including natural building settlement, temperature and humidity fluctuations, insufficient or improper drywall fastening, or inadequate nailing techniques during installation.
Do nail pops need to be fixed?
Nail pops should be fixed to prevent further damage and maintain the integrity and aesthetics of the drywall surface. If left unaddressed, nail pops can lead to cracks, weakened structural support, or further deterioration of the drywall.
Can you push nail pops back in?
It is not recommended to simply push nail pops back in, as they will likely resurface. Proper repair involves securing the nail or screws back into the framing and then applying joint compound over the area for a more permanent fix.
Will nail pops keep coming back?
Nail pops can potentially recur if the underlying cause, such as settling or movement, is not addressed. It’s important to address the root cause, ensure proper fastening techniques, and use appropriate methods to repair nail pops to minimize the chances of them coming back.
Conclusion
Summary of Key Points
We have covered all the crucial aspects of fixing nail pops in drywall. We started by discussing what nail pops are and why they occur.
We then went on to explain how to assess the damage and prepare for repair, followed by basic and advanced nail pop repair techniques. We discussed sanding, painting, and preventative measures that homeowners can take to avoid future issues.
Easy DIY Project
Fixing popped nails in walls might seem like a daunting task that requires professional assistance. However, as we have discussed throughout this article, it is a relatively easy DIY project that does not require specialized skills or equipment. Following our step-by-step guide and investing some time and effort into your wall aesthetics and wall stability issues will be a thing of the past.
Saving Time & Money
By doing it yourself, you can save both time and money in hiring professionals to fix your nail pops in drywall. Not only will you avoid costly repair bills, but you will also save time waiting for someone else to do the job for you.
In addition, this article is informative about how to repair nail pops in drywall, these tips on maintenance tips will help keep your walls looking great! Touching up paint after nail pop repair is simple with just a few easy steps!
Furthermore, preventing nail pops from happening again is also an important part of taking care of your home! Patching nail pops in drywall doesn’t have to be complicated or expensive with our expert guide on repairing cracked drywall caused by popped nails or securing loose nails in drywall surface repairs.
As long as you follow our techniques for fixing popped nails guide carefully while paying attention to maintaining wall stability over time – it is possible to achieve a seamless finish that looks great while being structurally sound. Troubleshooting nail pop repairs may seem frustrating, but with the right tools and techniques, you can tackle this particular home improvement project with confidence.